When I last left you, I’d made a whole bunch of single storey scatter terrain. This was a good start but I really needed some larger pieces, and especially some elevation, to make the table more varied and fun.
The first thing I did was grab a couple of bits from Gale Force 9’s Battlefield in a Box range.
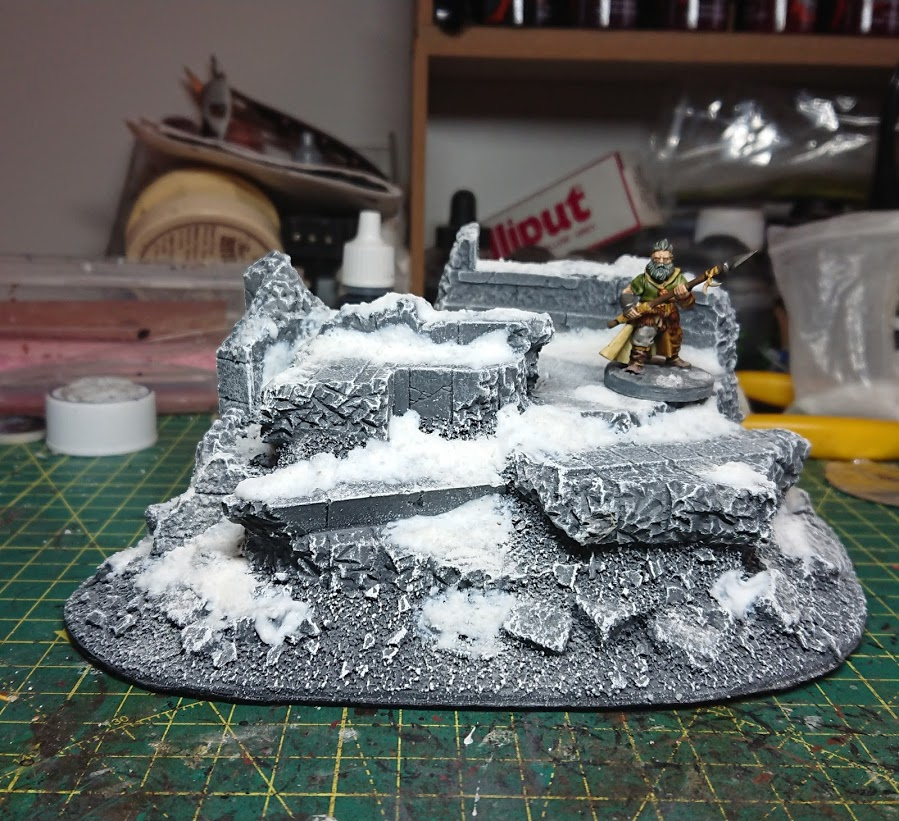
Of course I needed them to match the rest of my table, so I gave them a quick drybrush with white and added snow. The first piece I added patches and drifts by hand, just like the rest of my table.
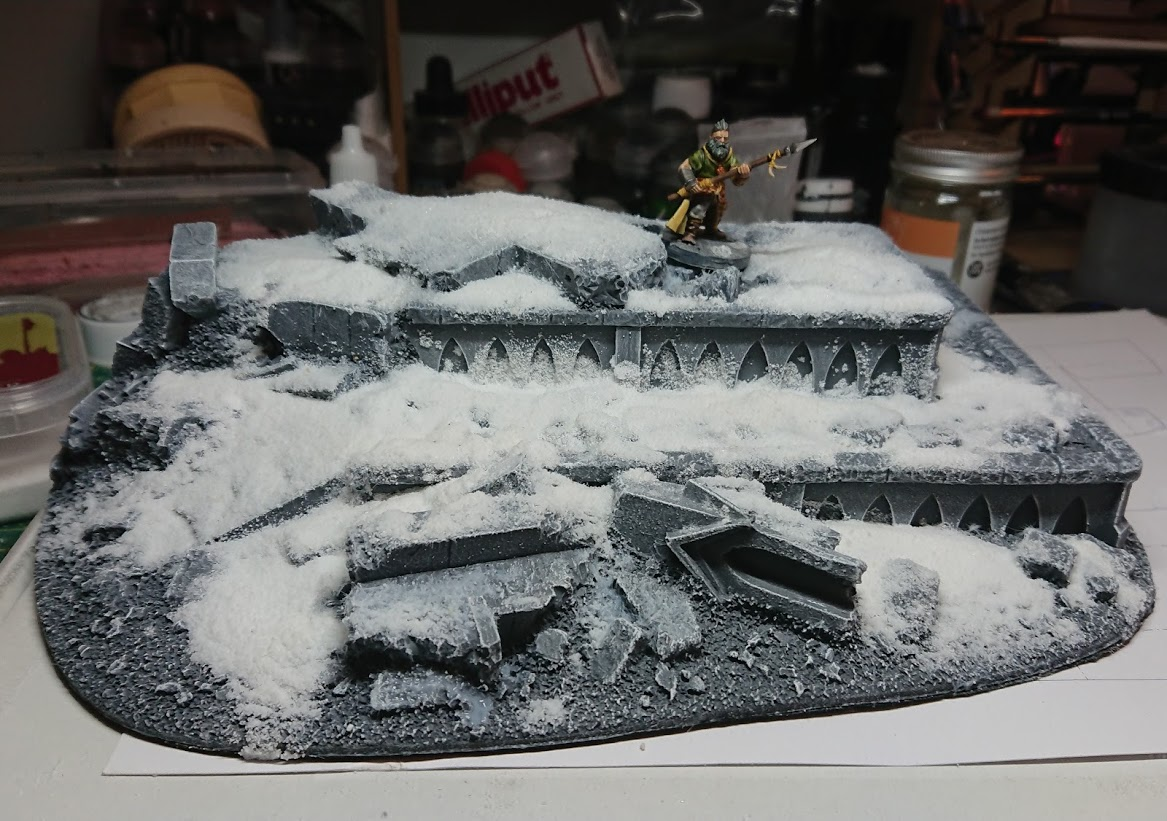
The second piece I sprayed with a mix of water and PVA and then sieved 2mm snow flock on from above. I hated how this flock looked so added my normal fine granite over the top. This method is quicker, but it gives the appearance of a more uniform, heavier snowfall, which wasn’t exactly what I wanted. However, part of this project was trying out different techniques to work out which worked best.
At the same time as the GF9 bits, I picked up an MDF kit from TTCombat: Venetian Streets, which I thought would be a nice way of adding some height variation to the bits I had already done. When I assembled the kit I noted they looked a bit flat in comparison to the rest of my terrain, so I broke out some EVA foam. I cut the foam to match the size of the MDF kit and then clad the kit in it. Then I rolled a firm ball of crumpled up tin foil all over the foam to give it a rocky texture and carved a brick pattern in the walls, and a flagstone pattern on the top.
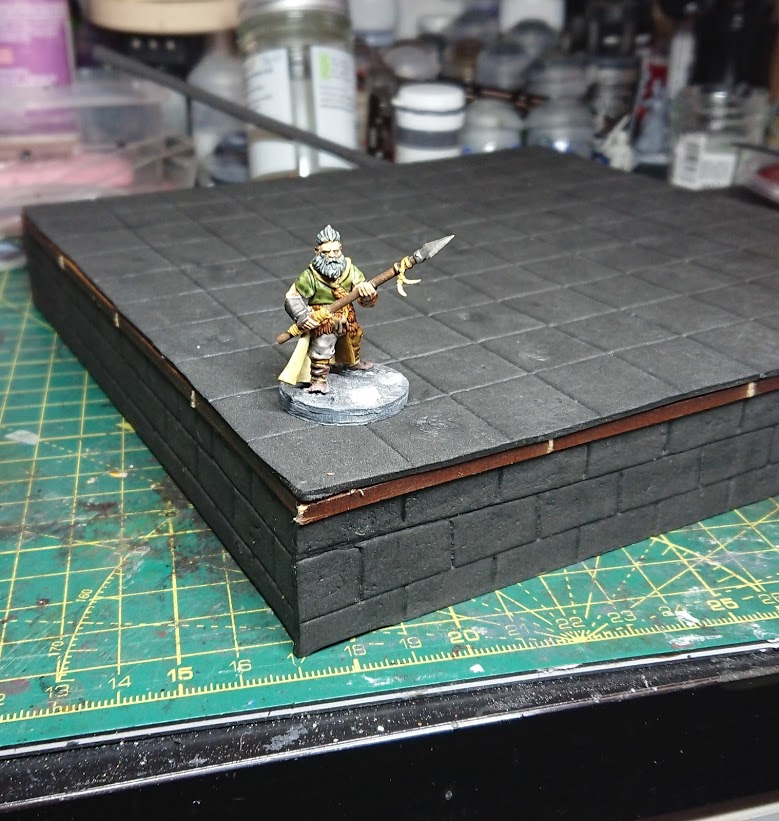
I then added some corner pieces and ran pieces of plasticard along the edges to cover the joins.
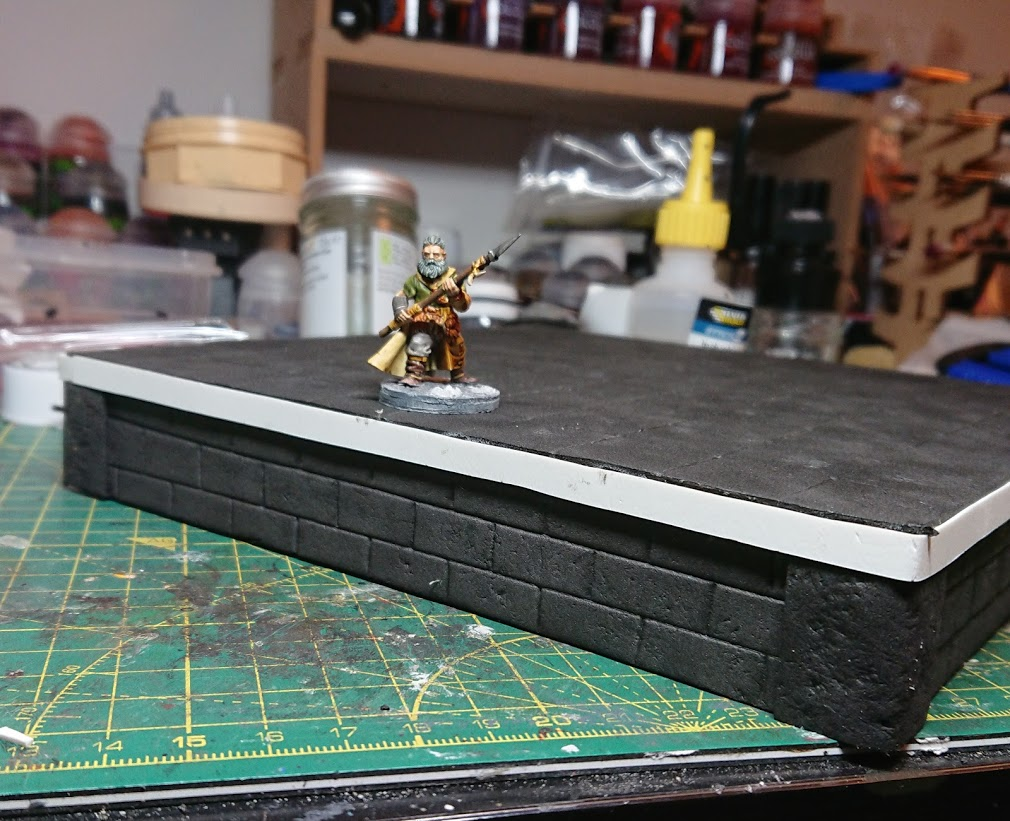
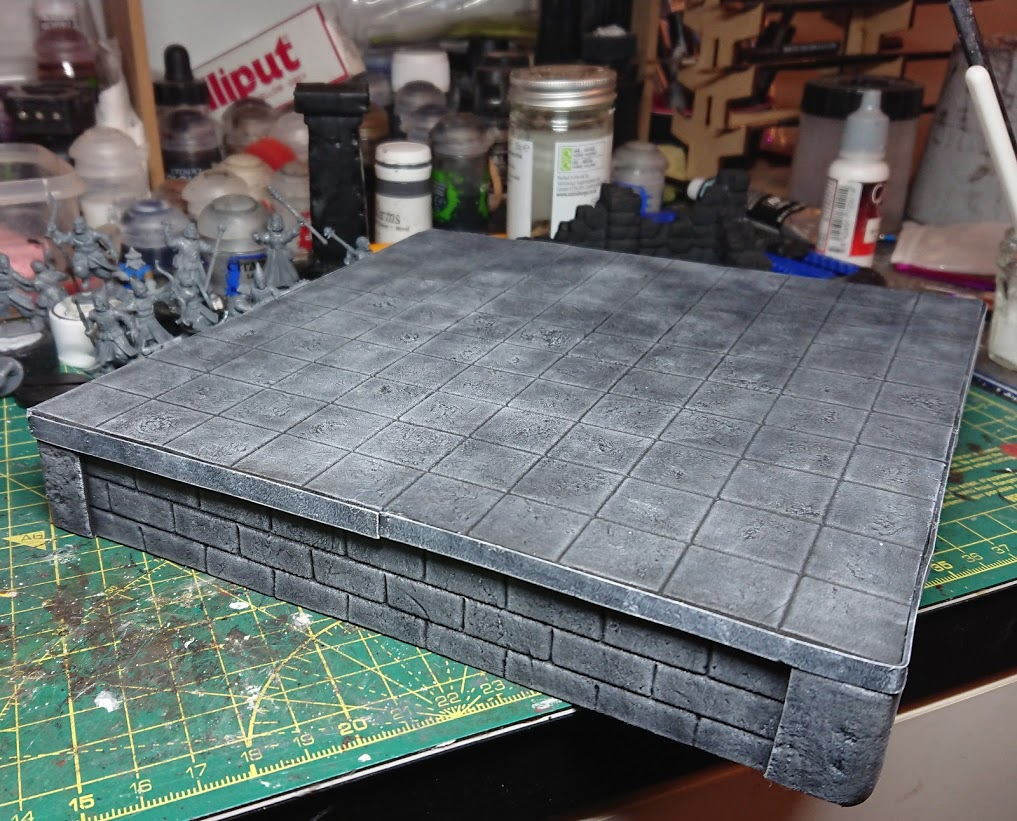
This was then painted in the same way as the rest of the table.
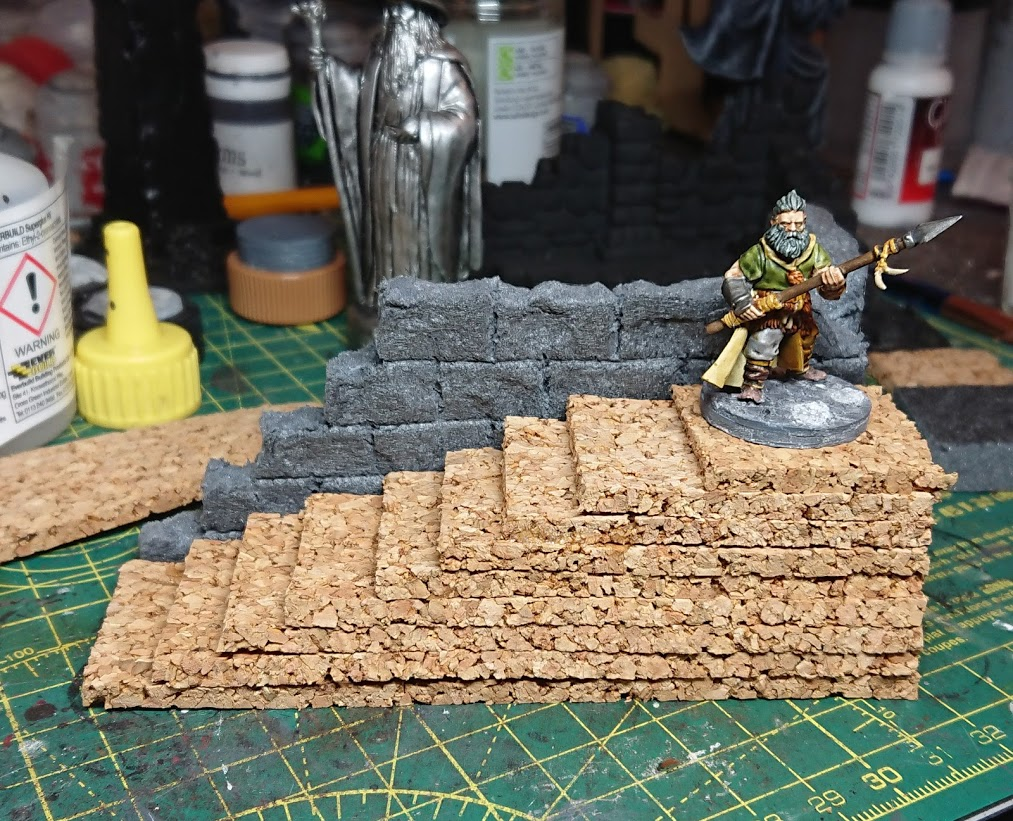
The next step was to do some larger pieces using XPS foam, but I’d never used this stuff for anything more complex than a few menhirs I made as objective markers for a friend, so I started with a smaller piece; this would also allow me to try out a method for making stairs. I started with a sheet of 10mm XPS foam on which I drew a wall and an arched doorway, and then cut these out using a sharp utility knife and a steel ruler. Then I textured the pieces as before and marked out a brick pattern on the pieces, before carving the pattern using a scriber. I thought I was being smart here, as most people recommend cutting the pattern with a knife, before widening it with a ballpoint pen. Turns out they were right! I know you’re all shocked that this novice doesn’t know better than all of the veteran terrain makers, but without the knife cuts the foam starts to tear, which stops it looking like stonework and makes it look like, well, foam.
To make the stairs, I decided to use some 3mm cork, mainly because I had a load sitting around. I cut this into a strip 3cm wide, and then into lengths decreasing by 1cm each time, and stacked these on top of each other. I then picked away at the edges and tore bits off, to give it a worn and weathered feel. However, I wasn’t a fan of using this cork as it really wants to warp, which makes it a hassle to glue.
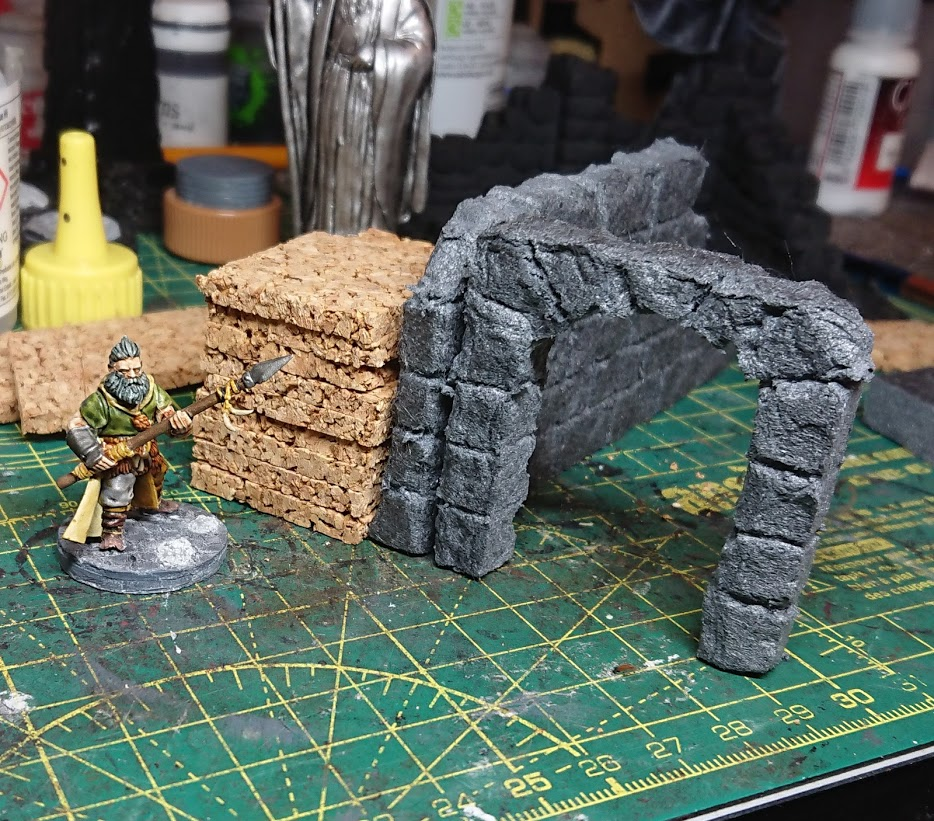
When you’re doing stairs there’s a balance between realism and playability. Ideally you would be able to place a model on each step, but that means your steps will be unrealistically deep and the slope very shallow, which means you need really long staircases. Alternatively, you can make the steps a more realistic depth, but then you can’t place models on them (without making your build much more complicated).
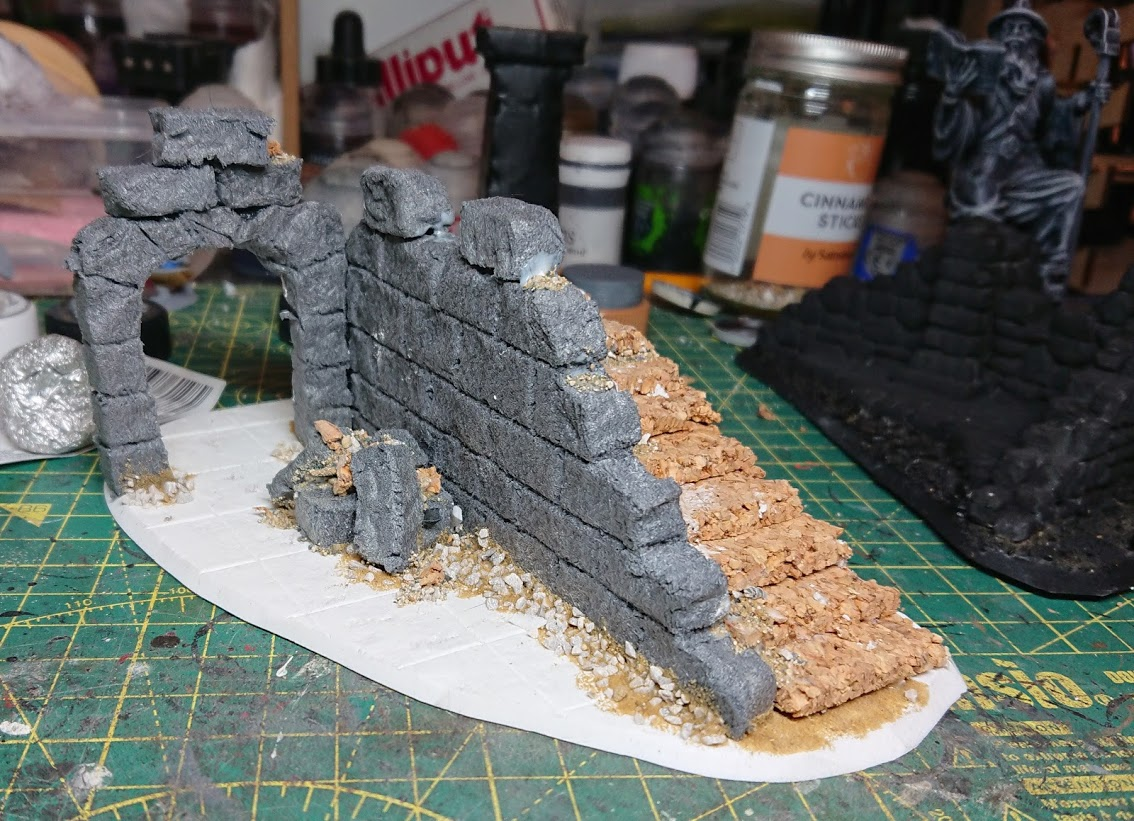
This was then mounted on foamex again, though this time, rather than placing filler on top or tiling it with flagstones, I carved the flagstone pattern directly into the foamex and textured it with the ball of tinfoil. I still added sand and ballast as before to represent rubble.
This was painted in the same way as the rest of the table, but don’t forget that you can’t spray XPS foam with a rattlecan, unless you like seeing your hard work dissolve in front of your eyes, so seal it first! I use mod podge, but PVA works as well.
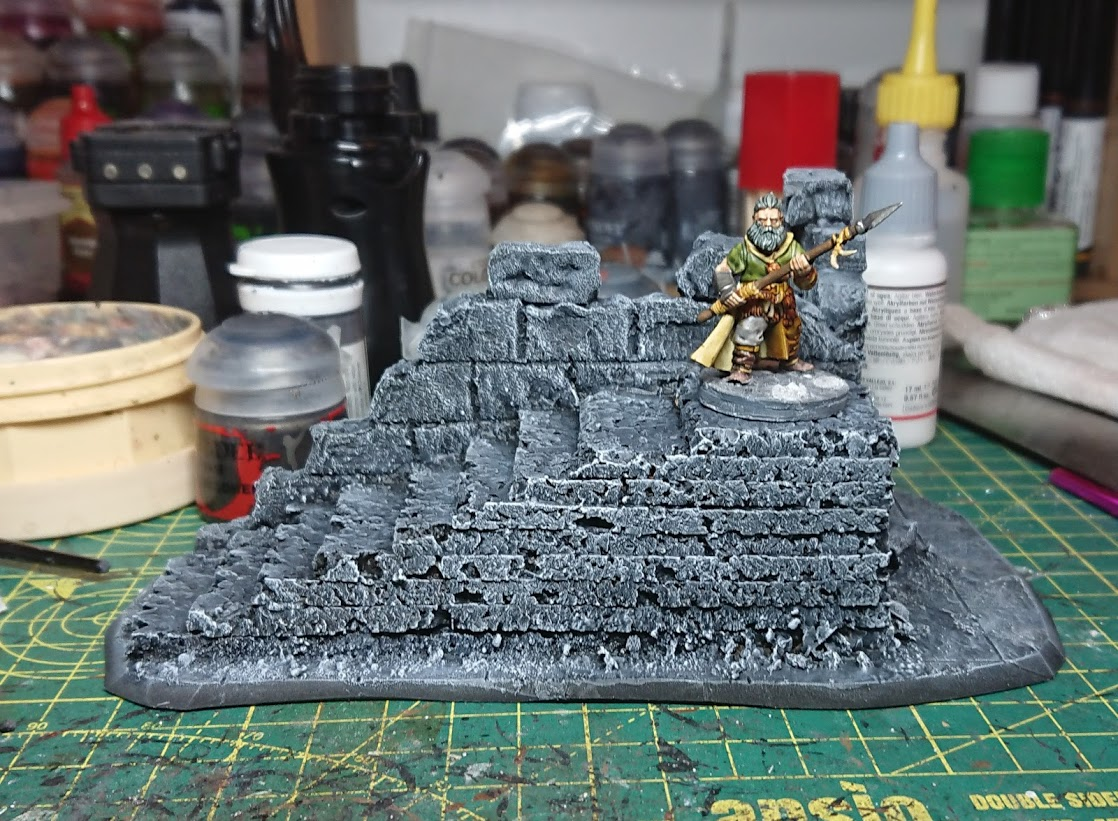
Then I added my standard snow mix.

So now I had done my first piece in XPS, it was time to tackle something bigger. Tune in next time to see how I did this.