Hi, welcome to the second part of my guide to teach you what not to do when you make a board, so you can learn from my mistakes. If you missed it, part one was here, where I talked about my inspiration and made some plans.
Basic plan made, I started 2 types of research. The first was the inevitable poring over any news on how Warcry Catacombs would play, most of which I wouldn’t discover until the game launched. The second was on how to make boards. For large 6×4 foot boards people would make wooden supports and two-part boards with clips and all sorts of elements to keep them stable. Given the smaller board size for Warcry (22” x 30”) I knew some of this would disappear and so I settled on 3mm MDF board, which I thought would be both cheap but strong enough…
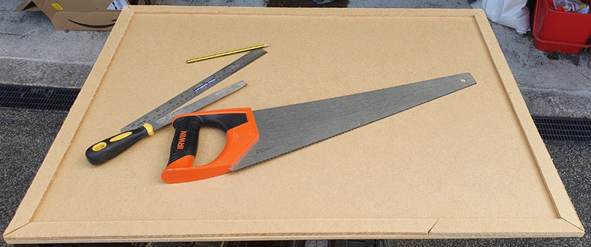
Obviously, I couldn’t find MDF pre-cut to that size, but metal ruler, marker pen and saw in hand I could solve that issue. I bought MDF big enough that I had about an inch more on each edge than the final board size, and then cut another set of pieces of MDF from the remaining board to go over that 1” gap. Obviously, all of my measurements and cutting went perfectly so the board is seamless, and I certainly didn’t need to fill any gaps with milliput, file anything or cut off pieces of MDF after I’d stuck them down.
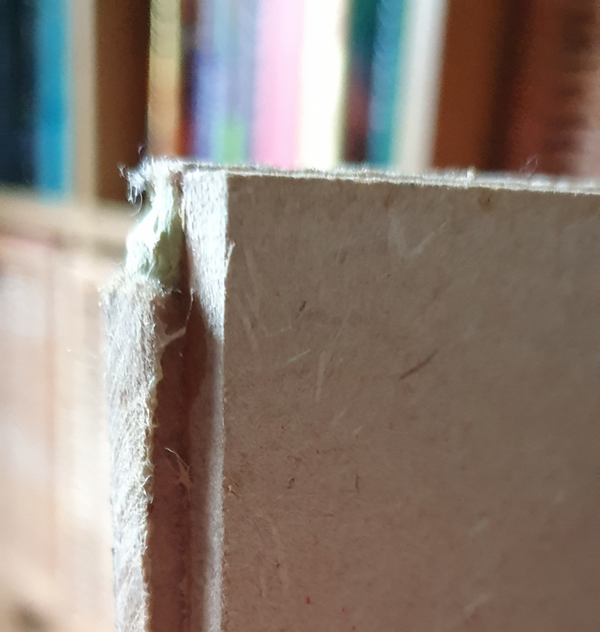
Mistake number 1 – This size MDF and approach was probably fine for the usage, but I hadn’t thought about how I would be making the board, and given other commitments how long it would be in that set up.
The board spent a lot of time during building resting on 2 supports in my garage, and I think particularly the time of doing that after painting were the issue. As such, it is slightly bowed in the centre. Not enough to cause issues, but enough that I notice and wince.
I now had a large board surface with a recess big enough to contain the Warcry playing space, including the original boards if wanted.
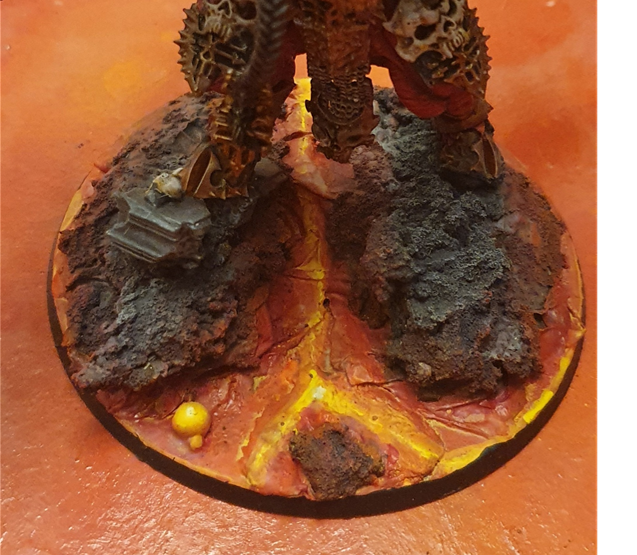
Next to paint it. So, lava painting. I’ve done a few bases lava painted, my favourite on a mini, probably Skaarbrand. I’m happy with producing a vibrant lava paint job and a bit of osl.
Doing lava on a bigger scale should have made things easier I thought. However, there was a restriction that really didn’t help. The board needed to be flat. Not just mostly flat, but flat. If it wasn’t, I couldn’t cover sections up as planned, or place an actual Warcry board there within the holder.
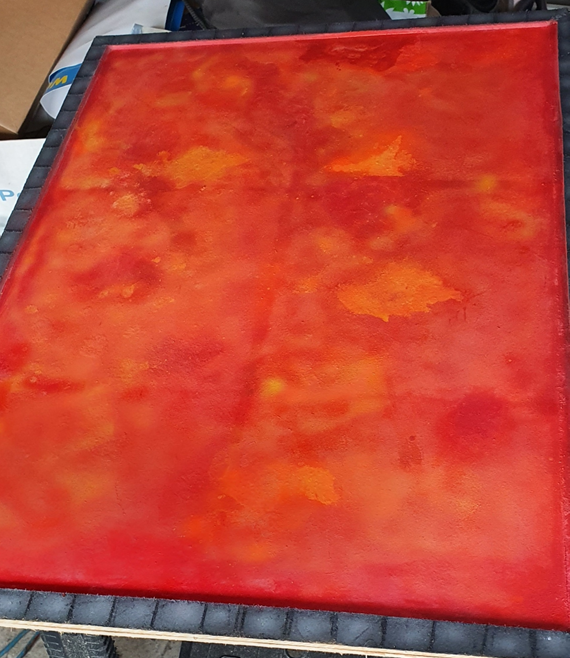
I got my airbrush out and started wasting a LOT of Mephiston Red.
Mistake number 2 – This is scenery. Buy some cheap acrylic paint and slap it on thick, then slap it on thick again. Use lots of cheap stuff.
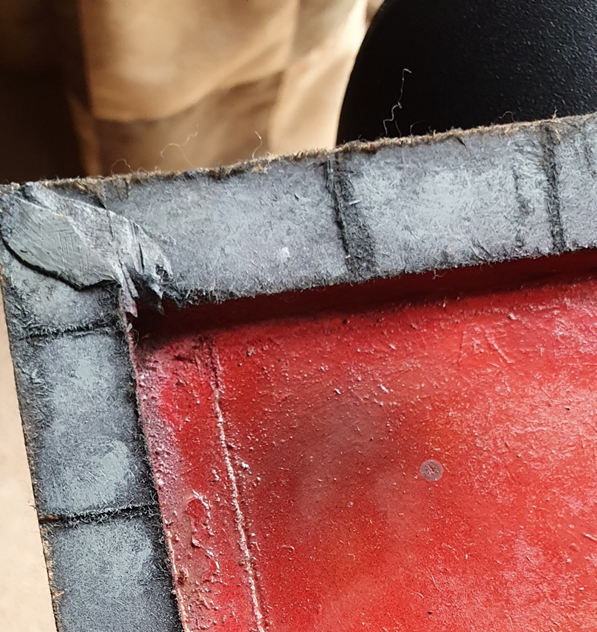
I kept on trying to deal with the board as though it was a delicate miniature, wasting expensive thinned paints. I slapped on very watered-down paint to preserve it and ended up with runny patches all over. I started with Mephiston red, building up through Evil Sunz Scarlet, a few oranges like Troll Slayer and Fire Dragon, then a wash with Vallejo fluorescent orange. A bit of bright yellow and some fluorescent yellow bits.
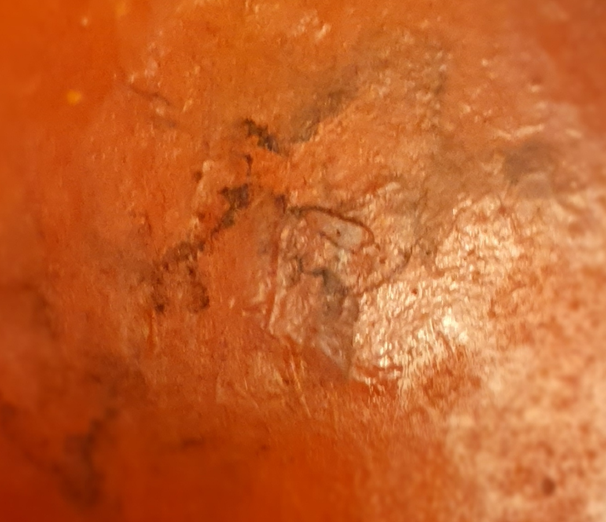
Next, I sprayed cheap primer in places to be the dried lava/rocks. All this would have been much easier if I built real rocks up in these places and shaped the lighter patches between them. This is way too haphazard, and I may well do it again someday.
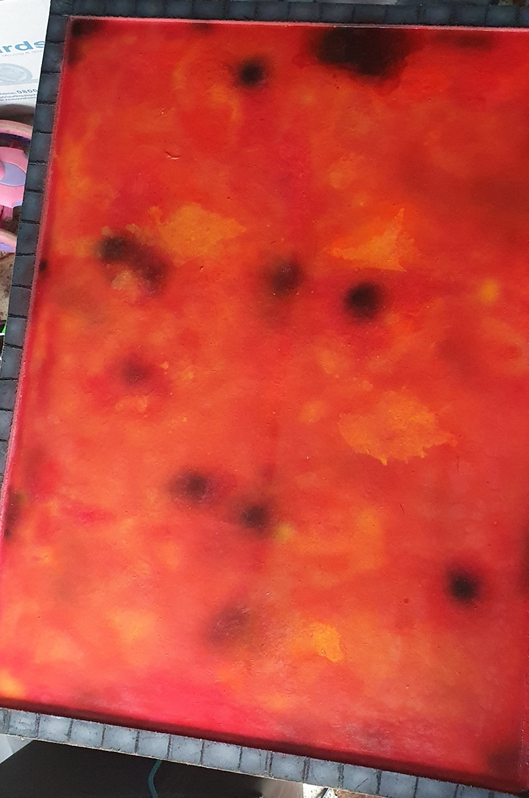
Mistake number 3 – Plan your colour locations, I shouldn’t have yellow next to black on this anywhere!
I finally decided that it wasn’t shiny enough, and added a mix of red paint, pva glue and water across the whole board. Do you know what happens to that sort of mix as it dries? I do now.
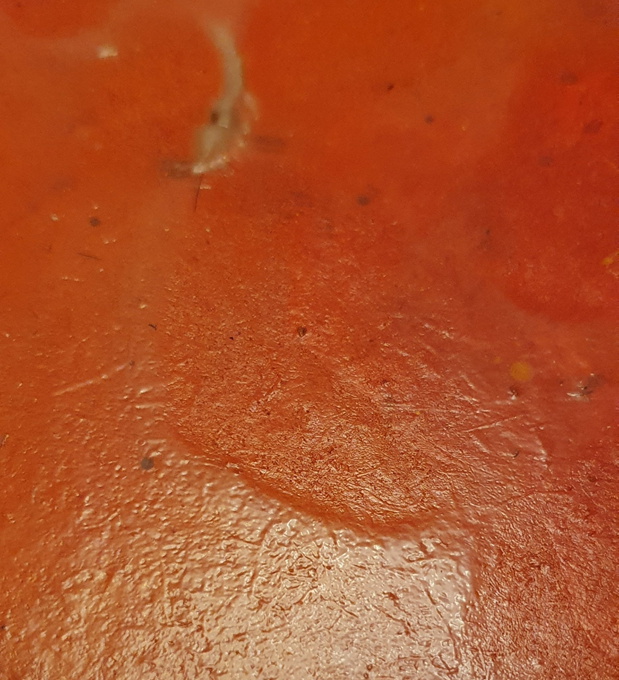
Mistake number 4 – Practice with new techniques, don’t experiment on your final product.
As I may well repaint this, the added texture I now have without adding much footprint should help, so I’m not actually annoyed anymore, but testing on a small scale and effectively doing a practice mini board would have helped massively.
At this point I should own up to the fact that from the pictures you’ll be able to tell that I’m not sticking to timelines when explaining this story. Instead, I’m explaining piece by piece.
So, base lava board done, next I needed to move onto the modular boards to put on it for scenery to go on.