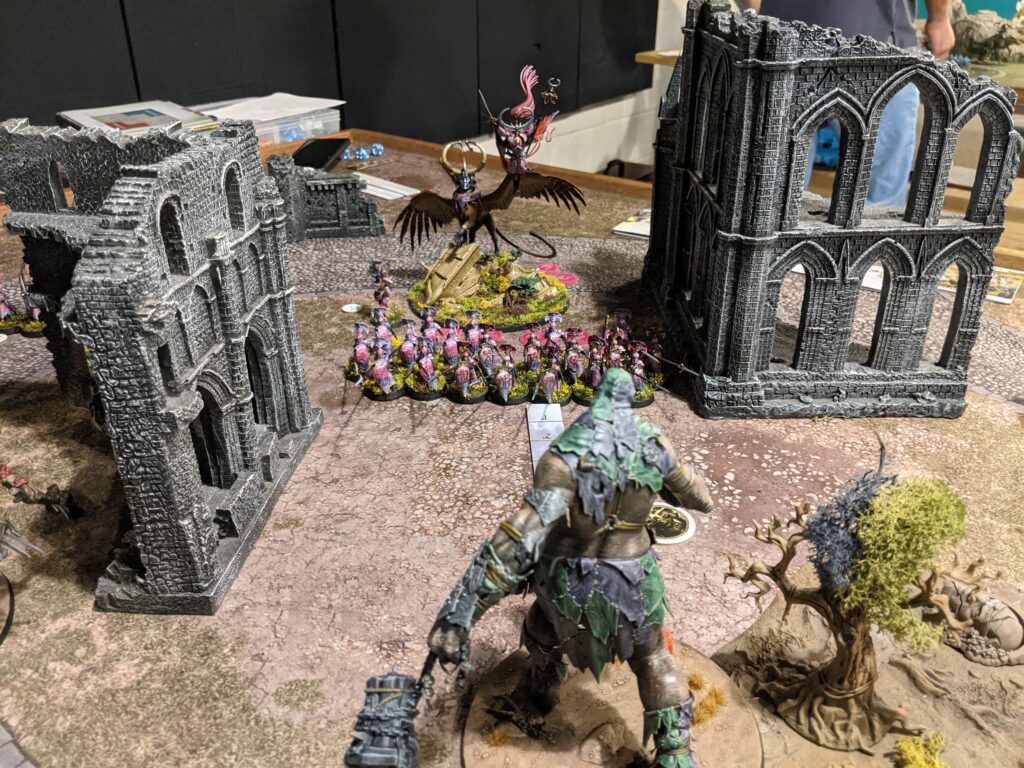
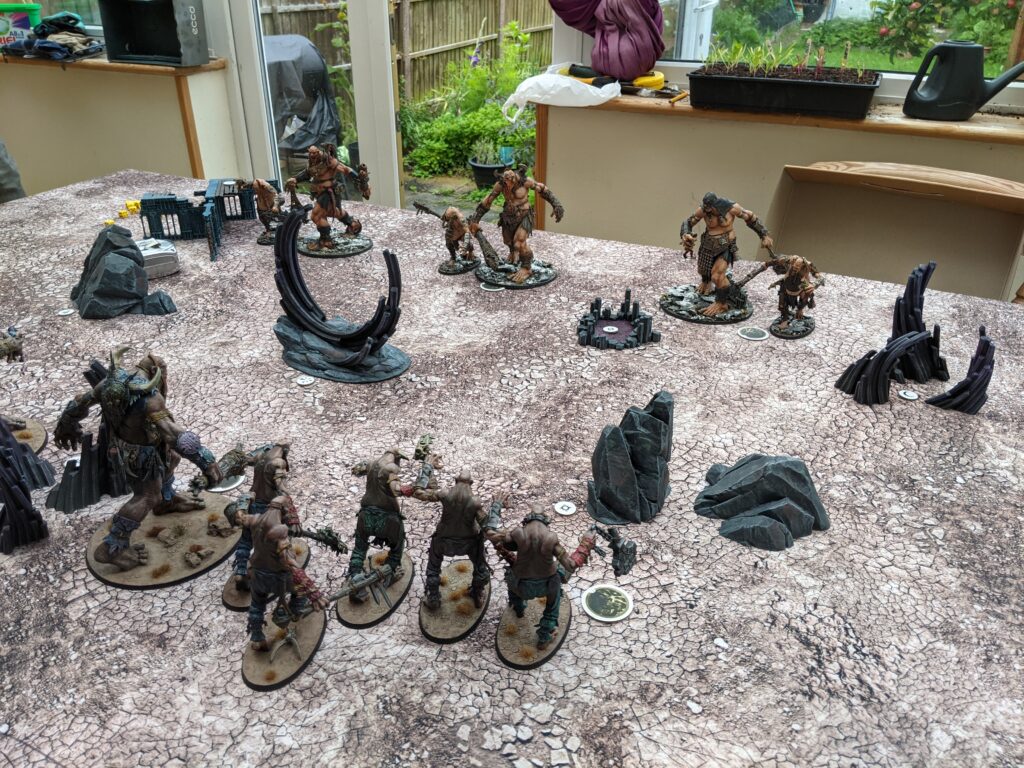
Last time I told you about how I painted up a new Sons of Behemat army for Age of Sigmar 3rd edition. In this article I’m going to cover my experiences so far of running the army on the tabletop, and give some tips for new or aspiring Gargant players.
I’ve played around twelve games with my Gargants so far I think, including a one day tournament. They’re exactly what I hoped they would be: a fun army that plays into the strengths of AoS 3, and has straightforward rules which have let me focus on learning the nuances of the new edition.
One potential downside to Gargants, which is worth touching on before I get into detail about what lists I’ve been playing and how I’ve been finding them, is that I’m far from the only person who decided to paint up a new Gargant army for 3rd edition. Gargants are probably the most popular army in AoS right now, and they have a very solid win rate, which means that they’re sometimes perceived as a bit of a negative play experience for your opponent. Some armies really struggle to do the damage necessary to get through 140 odd wounds of Gargants, and watching your army get (literally) stomped on by something you can’t kill isn’t much fun.
That said, because there are so many Gargant armies around, regular players are wising up to how to deal with them. As with all things, it comes down to being clear about expectations. Gargants are a great army to take to a tournament, but they’re probably a less good pick to use when introducing someone to AoS for the first time, or in a 1000 point Path to Glory game. Have a chat with your opponent about what sort of army they’re running and what sort of game you want to play, and you’ll be fine.
How do Gargants work on the tabletop?
For anyone who hasn’t played with or against Gargants in AoS, they are very good at two things:
- Holding objectives. Each Mega-Gargant counts as twenty models on an objective (or thirty if you’re running the Taker tribe sub-faction), and each Mancrusher Gargant counts as ten (or fifteen in Taker tribe). This means that if a Gargant is standing on an objective, most of the time the only way your opponent can score that objective is to kill the Gargant.
- Being hard to kill. Mega-Gargants have thirty-five wounds and a 4+ save, which is a lot to get through. They’re certainly not unkillable, but your opponent is unlikely to be able to take down more than one a turn, and low rend attacks will struggle to do much against them.
They can also do decent amounts of damage, particularly if you lean into the Gatebreaker Mega-Gargants who are the hardest hitting of the three Mega-Gargant types. However, their damage can be pretty swingy depending on dice, and while they’ll very reliably clear out chaff, they’re much less reliable against big monsters with a good save and a ward save. Debuffs to hit and wound can also really hurt their effectiveness.
In general, a Gargant army in AoS 3 is looking to get onto the objectives early and rack up as many points as possible, while also pretty reliably scoring battle tactics. You want to outscore your opponent in the early game, because by the late game when some of your Gargants will be dead you’ll have far fewer options available, and it can sometimes be tricky to find a battle tactic you can score on the final turn.

My list
I started off running a list of two Mega-Gargants, a Mancrusher Mob, and three solo Mancrushers. This was fun and mostly worked pretty well, but when I took it to a tournament its weaknesses were showed up a bit. The Mancrusher Mob are very susceptible to battleshock (I had a horrible experience against a Lumineth army where two Mancrushers, or twenty-four points of wounds, ran away), and with so many Mancrushers it was very easy for my opponent to score an extra victory point in every battle round for killing a monster.
Once I’d painted up my third Mega-Gargant, I switched to a list with three Mega-Gargants and three Mancrushers, which is what I’m going to stick with. Arguably four Mega-Gargants might be a stronger list, but I don’t really want to paint another one, and the three Mancrushers do have a lot of utility for holding back objectives, scoring battle tactics, and clearing screens, so whether or not four Mega-Gargants is better depends on the list I’m playing against, I think.
My full list is as follows:
Allegiance: Sons of Behemat
Tribe: Taker Tribe
Grand Strategy: Beast Master
Triumphs: Inspired
LEADERS
Warstomper Mega-Gargant (470)*
Gatebreaker Mega-Gargant (525)*
-Artefact: Amulet of Destiny
Kraken-eater Mega-Gargant (490)**
-General
-Command Trait: Monstrously Tough
-Artefact: Glowy Lantern
-Universal Spell Lore: Flaming Weapon
UNITS
1 x Mancrusher Gargants (170)**
1 x Mancrusher Gargants (170)**
1 x Mancrusher Gargants (170)**
CORE BATTALIONS
*Bosses of the Stomp – Magnificent
**Footsloggas – Unified
While list building for Sons of Behemat can feel a bit boring because you have so few unit options, there are quite a few interesting choices around which artefacts and battalions to take. I’m not going to get into these in lots of detail, but it’s worth noting that while Amulet of Destiny (an artefact that grants a 5+ ward save) is probably an autopick for a competitive list, there are lots of solid artefact choices you can take beyond that. I’ve settled on Glowy Lantern, which makes a Gargant a wizard, because the ability to unbind can be useful, and occasionally you can get off a Mystic Shield which is very helpful.
I run my list as the Taker tribe, which makes my Gargants better at holding objectives. The other option you tend to see is Breaker tribe, which makes them better at doing damage. However, to run Breaker tribe efficiently you really need two Gatebreaker Mega-Gargants, and I only have one, so I think Taker tribe is a better choice for my list.

My gameplan
My game plan obviously varies from game to game depending on the scenario and on my opponent’s list, but in this section I thought I’d talk a bit about how I usually approach games and what role the different elements of my list play.
My hardest hitter, and thanks to the Amulet of Destiny the hardest Gargant to kill, is my Gatebreaker Mega-Gargant. I normally aim to deploy him pretty centrally, so that however my opponent deploys, he’ll be able to get into the fight if I want him to. So a ‘typical’ deployment for me would be to have the Gatebreaker in the centre flanked by the other two Mega-Gargants. The Mancrushers will sometimes deploy in a group so that they can easily score the Ferocious Advance battle tactic turn one, or I’ll sometimes use them to screen the Mega-Gargants a bit if my opponent has a hard hitter that I’m worried could alpha strike me. In general, unless my opponent has an army with a lot of long ranged shooting I’ll be happy for them to bring the fight to me, so I quite often deploy back a bit to try to avoid getting charged turn one.
If I do want to get into a fight, my Gargants want to be charging rather than being charged if possible. They all do impact hits on the charge, and it also means that they get to fight at top profile before they start degrading and losing attacks. So my ideal game would be for my opponent to go first and move up, and then I get my Gatebreaker into him on my turn, and then get a double turn and get some more charges off. Obviously, things often don’t work out like that in practice, particularly since I’m three deployment drops, so often won’t get the choice of first turn.
The utility of Mancrusher Gargants varies hugely depending on what I’m up against. They are great for taking out screens, or for going after a small unit that’s been left to hold a back objective. They can also be good for triggering Unleash Hell: if your opponent has a strong shooting unit that can potentially do serious damage to a Mega-Gargant, the Mancrusher can take the Unleash Hell and free the Mega-Gargant up to charge in safely. But they typically don’t do much against a unit with a decent save, and they die very quickly once they get attacked. So how I use them varies a lot depending on what I’m up against.
I’ll normally plan on losing roughly one Mega-Gargant per battle round after the first, one key decision is when to use the once per battle Finest Hour heroic action for each Mega-Gargant, as ideally I want each of them to use it before they die. Because doing enough wounds to kill a Mega-Gargant is quite a big ask, it’s pretty common to have a Gargant survive on a small number of wounds, and this can have a huge impact on the game, so correctly guessing which Gargant is about to be attacked and making sure they are as well equipped as possible to survive it can be critical.

What do I want to get better at?
I’ve only played twelve games so far, and definitely have a lot of scope to improve my tactics and become a better Gargant general. Three areas I’m particularly keen to focus on are:
- Figuring out when it’s useful to kick objectives around. The Kraken-Eater Mega-Gargant can kick an objective to change its position on the battlefield. Apart from one or two scenarios when there are very obvious advantages in doing this, I don’t feel that I’m making the most of this ability yet, and I often don’t end up using it at all. I think there’s more I could be doing to factor this ability into my gameplan and use it to my advantage.
- Planning from the start what my turn 5 battle tactic might be. It’s usually very easy to score four turn’s worth of battle tactics with Gargants, but in several games I’ve hit turn 5 and realised there’s nothing left that I have a chance of scoring. I think I need to plan further ahead to have an idea of what might be feasible on turn 5, and in some cases maybe go for a trickier battle tactic in an earlier round so that I can save something for turn 5 that I have a good shot at being able to score.
- Not wasting command points. Generally with Gargants the command abilities I most want to save points for are All Out Attack and All Out Defence (+1 to hit and +1 to save respectively), but I sometimes find myself doing that my default and then realising that actually I can get +1 to hit through the Titanic Duel monster ability, so I don’t need to spend a command point for it. I think I could be better at planning in advance what I need command points for, so that I know when I can spare one for a cheeky Unleash Hell, or making a Mega-Gargant fight at top profile.
My favourite Gargant moments
I thought I’d finish by picking out a few of the most fun moments I’ve had in games with Gargants so far.
- Throwing things at other things. Warstomper Mega-Gargants have a bad rep compared to their fightier Gatebreaker brothers, but they do have an ability that lets them (dependent on dice rolls) slay a model automatically, and then throw it at another unit to do damage to that unit. This doesn’t always come off, but when it does it’s brilliant. My Warstomper has killed a Bloodknight by throwing another Bloodknight at it, and killed an opponent’s Runelord general by throwing a dwarf at him. His name is ‘Dwarfchucker’ now. It’s great.
- Falling over on things. All the Gargants have a rule that when they die, you and your opponent roll off to choose where they fall over, and then they do a small amount of wounds to anything they fall on. When I first started playing Gargants I used to forget this rule a lot, but it can actually be really useful. I had a recent game against Soulblight Gravelords where my Gatebreaker left a zombie dragon on one wound, but then the zombie dragon took out a Mancrusher which promptly fell on the dragon and killed it, much to my delight and my opponent’s dismay.
- Fighting other Gargants. Before I played my first mirror match I wasn’t sure if it was going to be particularly fun, but it turned out to be a really good game. Because you both have a very small number of units positioning is key, and you can really get into the detail of trying to predict what they’re going to do and deny them battle tactic opportunities. Each combat feels really important, and the difference between a Gargant dying or surviving on one wound can be huge.

Wrapping up
I hope you’ve enjoyed reading about my experiences with Gargants in AoS 3. If anyone is inspired to get their own Gargant army off the back of this, go forth and have lots of fun stomping on your enemies! I’m due to go to my first ever solo two-day AoS tournament with the Gargants soon, which I’m sure will be a further learning experience for me, as well as hopefully being fun. They’ve certainly been an excellent army for helping me get my head round AoS 3, and I’m looking forward to getting some more games in with them.


