Welcome to the Jank Tank, where we take deep dives on unusual, techy or just plain janky armies in Warhammer Age of Sigmar.
This time we’ll be looking at the fastest Flesh-Eater Courts (FEC) army in all the realms, and asking Chris Welfare from the Mortally Wounded podcast for his insights into the army.
We’ll look at the component parts of the army, what it’s trying to achieve, how it goes about it, and how to get the most from it in play.
What’s the idea?
The recent advent of a number of mobile and effective shooting & magic armies in Age of Sigmar has posed some awkward questions to traditional melee factions, for example: how do you deal with a Kharadron Overlords army deployed on the back board edge?
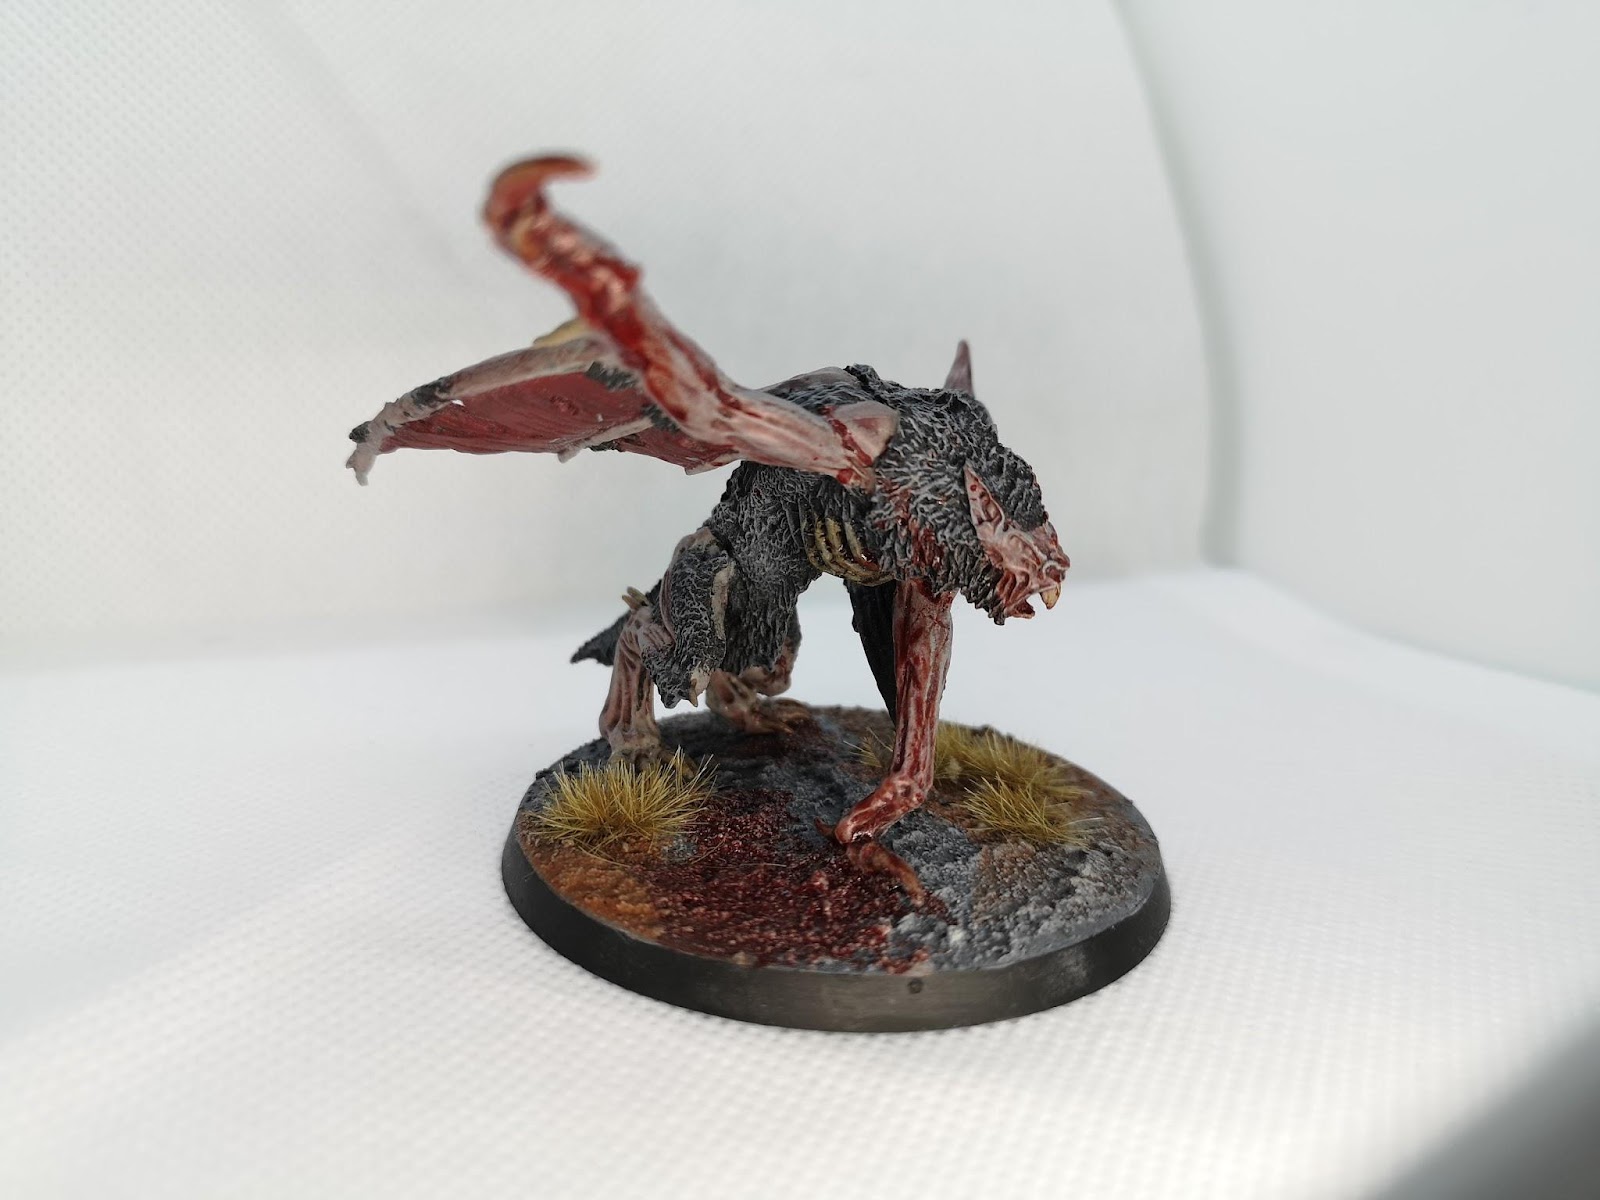
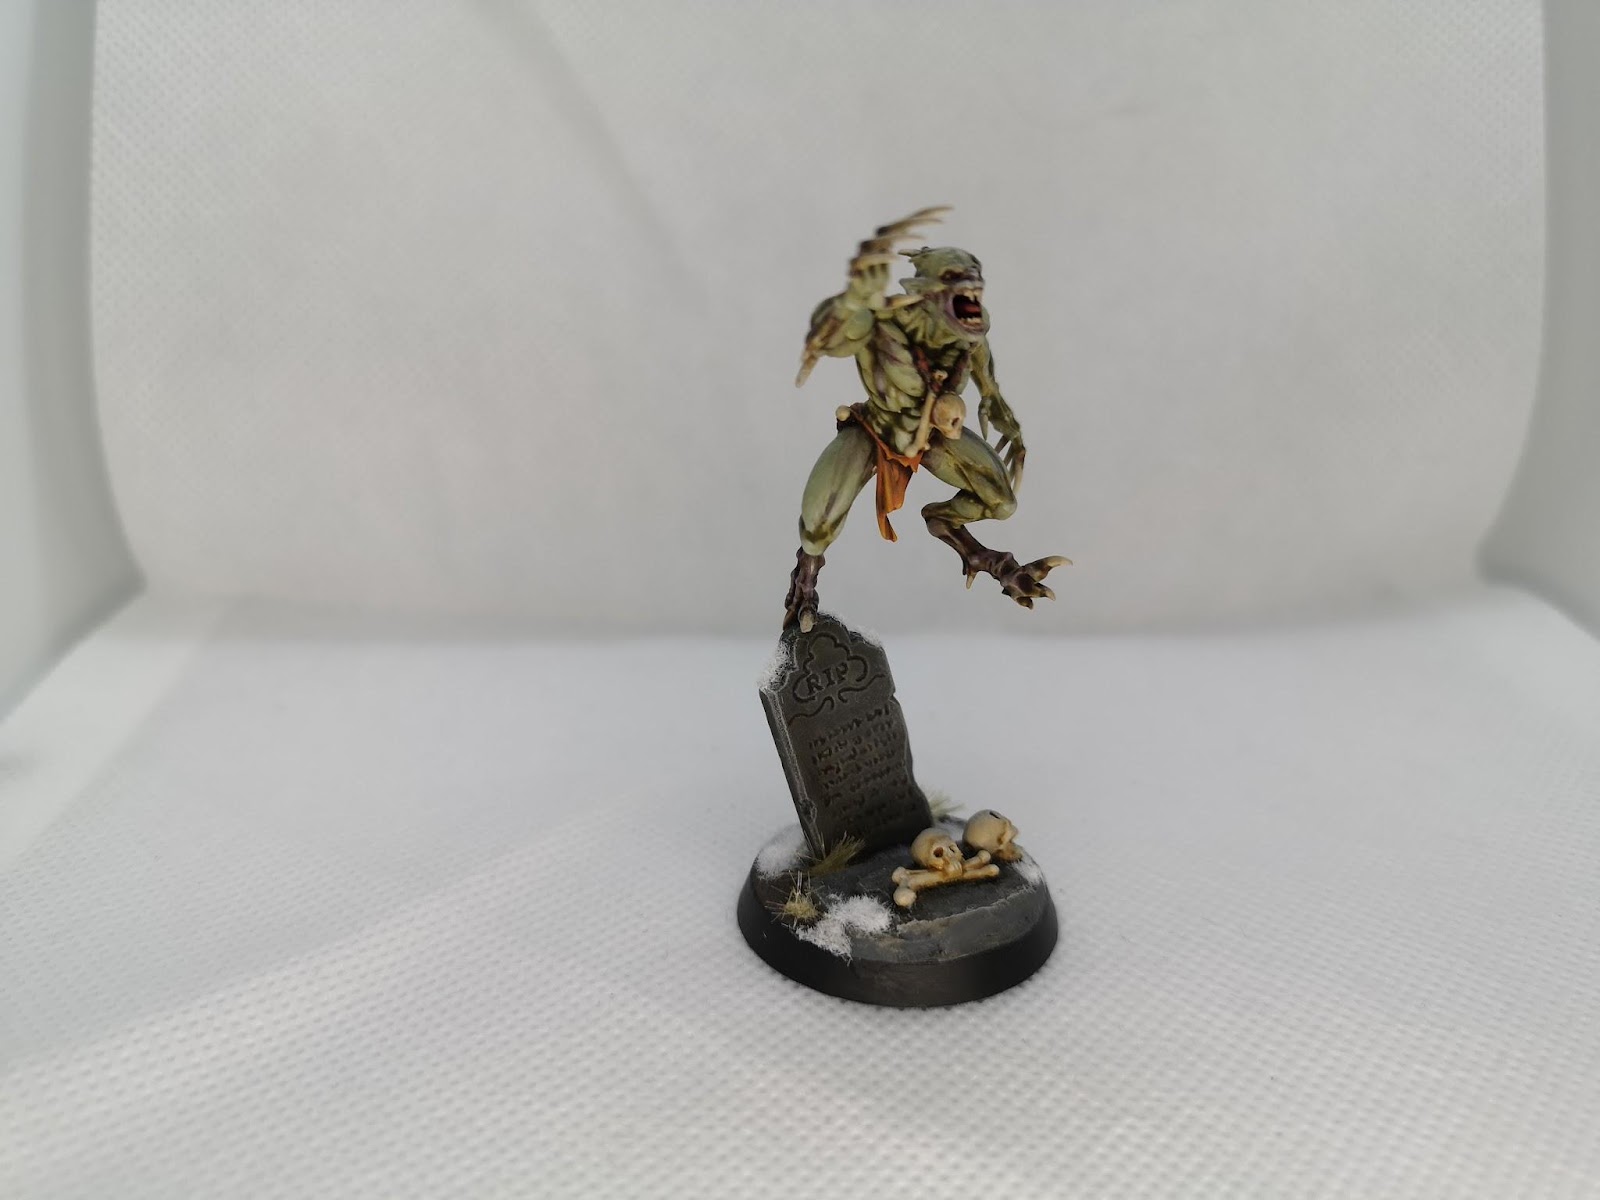
For some armies, the answer to this is an awkward “You can’t” or “You don’t” but, with a bit of delving into the lesser-used parts of the FEC battletome, there is a way. A way to make an angry bat travel a thousand miles an hour and punch harder than you ever believed possible.
What’s the list?
I’m talking up the Nuclear Varghulf, or “smashbat”, here, but there is a surprising depth of options to the army build. At its most basic there are three core parts to the list that make the whole thing tick. First is the Royal Mordants warscroll battalion. This is a pretty popular choice in FEC already, comprising one unit each of Crypt Horrors, Crypt Flayers and Crypt Ghouls with a Varghulf Courtier. The unit selection in Royal Mordants gives you a bit of everything, but the money here is the ability to pick a unit wholly within 16” of the Varghulf in the hero phase and make a normal move with them (ie. you can run). Secondly, you’ll want an Abhorrent Archregent, and last of all you need to select the Hollowmourne subfaction.
To go nuclear you need the Varghulf to be your general. It takes the mandatory Grave Robber trait, but you give the mandatory Corpsefane Gauntlet artefact to your Archregent to free up the Varghulf’s artefact slot for the Bilious Decanter. We’ll look at this combination of command trait and artefact when we break down the Varghulf itself later.
Outside of this skeleton of the list, you have some points to play with. You’ll want to buy a Command Point (CP), because you’ll want as many as you can get your blood-soaked claws on, and you’ll need another battleline unit, but otherwise you’ve got quite a few options. You can take the traditional Ghoul King on big monster, you can beef up the size of the units in the battalion to try and build in some resilience on the grind, or you can even double up on Royal Mordants for even more CP and a 3-drop army.
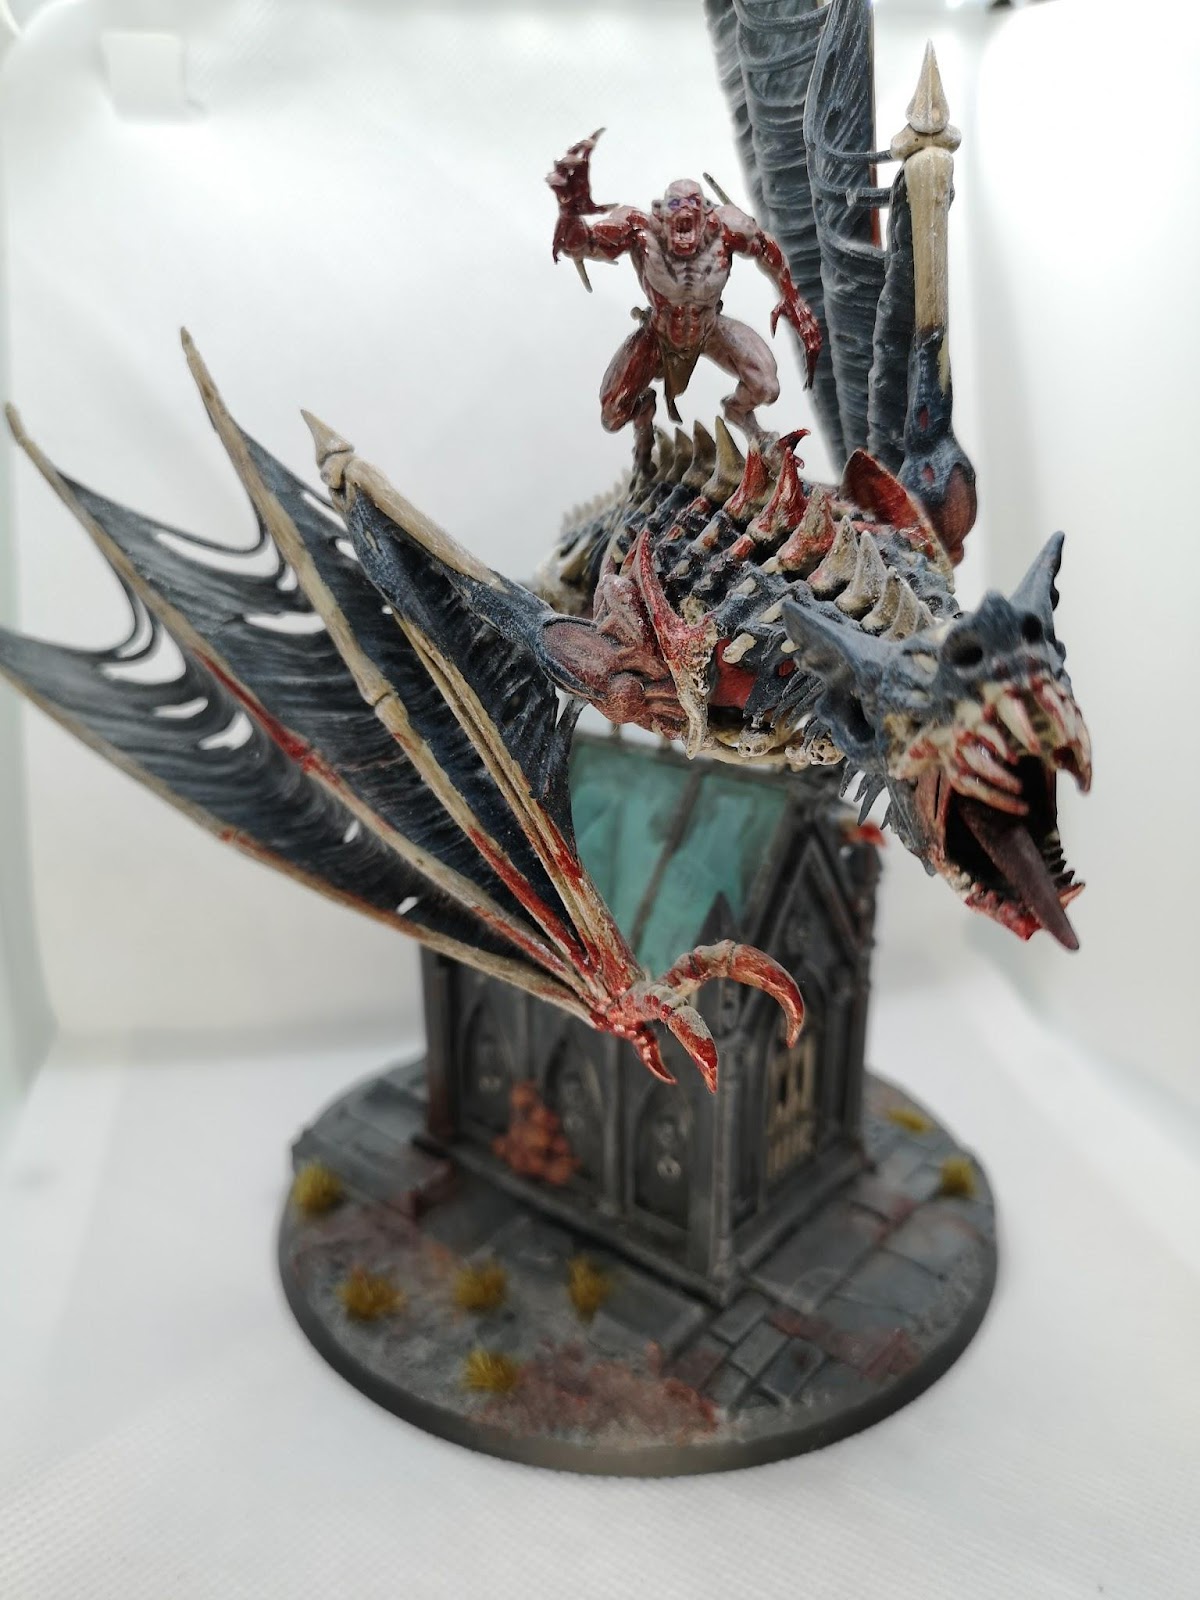
Chris Welfare: I’ve dropped the dragon from every list, I’ve just found he’s not the best use of 440 points. You don’t really need his reroll wounds spell as you get reroll 1s innately with most of the army on the charge, and his Command Ability costs you a CP and when you’re likely spending a few on run and charge from Hollowmourne it’s just too many not being spent on fighting twice. He also doesn’t hit very well reliably without the extra attacks spell, which is usually better served elsewhere, i.e on the. Flayer block or Varghulf. You can get another 9 horrors and a CP for his points, which I think is much better value.
I myself have mostly been playing with the double Royal Mordants version of this list. The second hero phase move opens up a lot more possibility of delivering a bigger turn one alpha strike; you don’t have to choose either smashbat or the flayers, you can do both. Having a third artefact opens up either the Dermal Robe for +1 to casting those important spells on your Archregent or the Medal of Madness on the second battalion’s Varghulf for a free use of a generic command ability once per turn. Having another CP doesn’t hurt either.
The major downside here is that doubling up on Royal Mordants means you can’t concentrate your models into single units, which dramatically reduces both their survivability and their effectiveness. You can get away with two units of 6 Crypt Flayers but the Horrors will be minimum sized and essentially relegated to chaff clearing and roadblock duties.
CW: The double Mordants list I think still has legs and I maybe moved on from it a little quickly, but I’m finding the major hole in the army is resilience so you need to take blocks of Knights that are at least 9 if not the max 12 and have enough courtiers to keep topping them up as they die. I haven’t found much that can win a grind against a 12 block of Knights that keeps regenerating, so the things that present a problem are shooting/ magic that can kill the Varghulf behind your Knights, because the Knights do die easily on a 5+ save and once they aren’t coming back via muster you very quickly lose the unit.
Why these choices?
A lot of these choices are admittedly pretty standard for FEC armies that aren’t chasing the Gristlegore Terrorgheist.The real spice here is Hollowmourne.
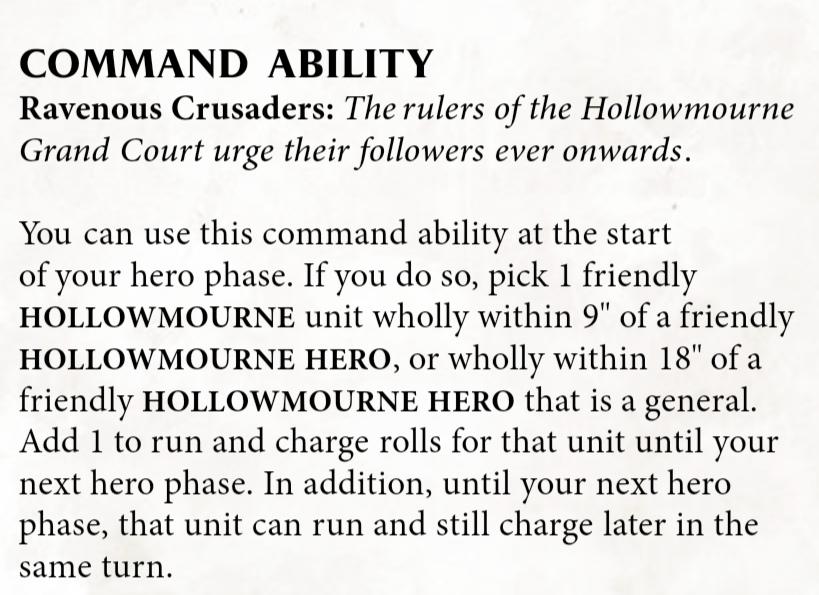
What usually comes to mind when building fast FEC lists is the Blisterskin subfaction, which layers a nice +2” move over all of your units. So if we’ve got the need for speed to hit those pesky back-board edged gunlines, why not Blisterskin here? The command ability for Hollowmourne, Ravenous Crusaders, gives a unit the ability to run and charge plus an additional +1 to run and charge rolls on top of that. Run and charge is something that FEC already have access to via the Spectral Host spell, but what Hollowmourne is doing here is providing the reliability of not having to cast a spell, and freeing up your caster to take Deranged Transformation for an extra 4” move on all of your Knight units.
So with all of this and Royal Mordants, we’ve got a bat that moves a minimum of 24” plus a charge, or a unit of Flayers moving 36” if you choose them as the target of the CA instead. This means they can essentially be wherever you want them to be thanks to the fly keyword.
But what else is Hollowmourne doing for us?
This is how we get the bat to smash.
The basic ability of Hollowmourne is for Knights and Courtiers to reroll 1s to wound on the charge. You want to be charging and you want to be killing on the charge, so this is a very welcome boost to your reliability. Hollowmourne’s mandatory command trait Grave Robber hands out a flat +1 attack and +1 damage to the general’s melee attacks if the model is within 3” of an enemy model with an artefact of power. Now, this is obviously limited in how often the buff can apply as most armies have 1-2 artefacts at most, but the Nuclear Varghulf can be something of a one-and-done piece anyway, with a goal of taking out one or two key targets before dying. Artefact holders are very often key pieces themselves or are running around near units they want to buff, which can provide opportunities for maximising Grave Robber’s impact.
CW: You want to build the best list around what you’re taking, so knowing I was taking Royal Mordants and would therefore have a Varghulf in the list as well as two units of Knights, Hollowmourne in particular suits these options. The command trait really makes the Varghulf a huge threat piece, he can still hit well in any subfaction with the buffs on him, but the Hollowmourne one next to an enemy hero with artefact does A LOT more damage, not only because of the extra attack and damage, but because he also gains the innate reroll of 1s to wound when he charges which makes his attacks more reliable.
OK, so how hard does smashbat smash?
There’s a lot of variance at play with the Nuclear Varghulf: it can fight all the way from exactly the same as a normal Varghulf up to soloing Archaon in one round. So let’s look at all the buffs available to him and what that looks like in terms of expected damage.
Varghulfs have two attack profiles and so any source of extra attacks to their melee weapons will do double duty. We have three sources of extra attacks here: Grave Robber for +1, the Bilious Decanter for +2 once per game, and the Abhorrent Archregent’s warscroll spell for +d3. The Varghulf’s claws also gain an extra +2 attacks if there are 10+ enemy models around it.
In addition, if the Varghulf is within 18” of your Archregent when it casts a spell, it gets full rerolls to hit on its melee attacks. Given you’re wanting to cast attack buffs onto it from the Archregent’s warscroll spell, this is a no-brainer: just make sure you’ve deployed with your ranges correctly! Last but by no means least, because the Varghulf is a hero it’s always going to be eligible to use the generic FEC command ability Feeding Frenzy to fight a second time immediately after fighting.
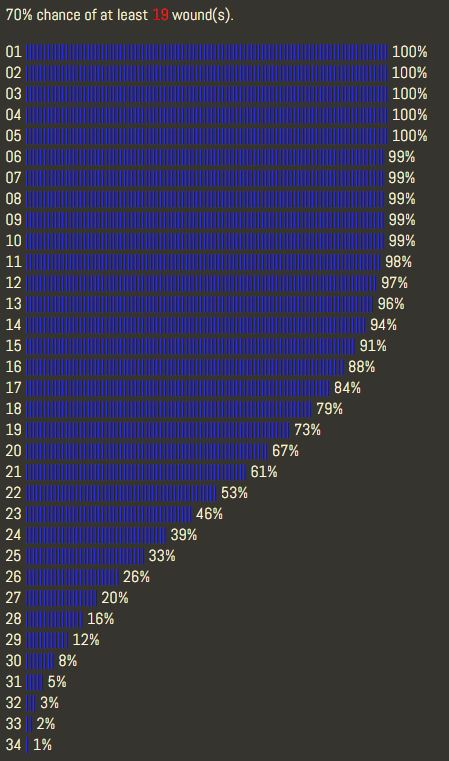
So in optimum conditions, with the Archregent casting Ferocious Hunger for the full +3 attacks, the Varghulf within 3” of 10 models and a hero with an artefact, you’re looking at 12 rend -1 damage 3 attacks and 7 rend -2 damage d3+1 attacks. Below are two sigmulations of the Nuclear Varghulf fighting a 4+ save enemy. The first is in this optimal situation, the second will assume that it isn’t within 3” of 10 models and the Archregent only rolls a 1 on the +d3 attacks. Both are for single activations, so there’s still the option of feeding frenzy and fight again if anything survives.

Verdict: Quite hard.
CW: I’ve only had one game so far where I didn’t get to send him in to go ‘nuclear’, he doesn’t necessarily always have all the buffs on him when you do send him in. If you’ve failed to cast Ferocious Hunger or another spell for example he’s not rerolling to hit or getting any extra attacks, but he can usually still hit hard enough in a small space for his base in conjunction with one of your other units, usually the block of Flayers.
The Varghulf is great at just removing a few key threat units if grouped together and that’s why I love him so much. He’s always a threat to something and is fairly self contained in his buffs, enough to still be effective anyway, and if you’re in a situation where you can put all the extra attacks and rerolls onto him and they go off then it just means you can maybe send him into a harder target, but if not there’s always something he can go and deal with.
How do you play it?
This is where we get to the technical part of the army. Building absurd combos is all fun and games, but how do we utilize them effectively?
The first thing to understand is the exact timing of the Hollowmourne command ability and the limitations this gives you.
The key wording to take note of here is “You can use this command ability at the start of your hero phase”. This is a bit atypical for abilities that affect movement like this, and it means you really do need to be planning your turn ahead. I find that with this army I am spending much more time at the start of the hero phase just measuring things to work out which units I need to use this ability on.
Because of the timing and the lack of Spectral Host in the army, you do not want to get caught short with a unit that needs to run and charge to make its target: once you’ve made the Royal Mordants move you cannot go back and activate this ability. Equally, you will need to decide whether to use it or not before you know whether you will successfully cast Deranged Transformation. Perhaps even more importantly, you don’t want to simply spam it on every unit that might possibly need it. Between this, Feeding Frenzy, and having spare CP for the default command abilities if needed, the army is incredibly CP hungry and managing what you have is vital.
CW: Completely agree, the start of the hero phase (after turn 1 as I’m almost always doing ravenous crusaders T1 and know this as I’m deploying if I’ll be using it or not) is the time for most pause for thought as it’s such an important decision you need to take your time to plan out the turn. Obviously I wish it was unrestricted to any point in the hero phase, but I do like the nuance it brings and makes you really stop and think about whether spending the CP is needed and a good enough trade off vs having it to spend on a double pile in.
Beyond this there are some other resource-related decisions you will need to make each turn. Royal Mordants lets you move a unit in your hero phase in addition to their movement phase and Deranged Transformation can speed a unit up, but each of these abilities can only be used once per turn. This means that you will likely also need to be measuring up which units need to receive each buff. Some opponents, particularly those reliant on shooting, may elect to place their army as far back as possible and give you the first turn in the hopes of getting a double to shoot you with.
This army has the speed to hit an opponent who has completely back board/cornered their army, but with the buff limitations you may find yourself needing to send your units up in waves, so it is important to decide in what order you are doing that and buff accordingly.

What are the weaknesses?
Survivability, survivability, survivability. Yes, the Archregent gets a once-per-game summon and the Varghulf can bring models back into units that have lost them, but there are some significant durability issues in the FEC army. The Varghulf itself is just 8 wounds behind a 5+ save and will likely drop to any moderate investment of damage into it. Your other key combat units, the Knights, are equally saddled with a 5+ save that will simply not hold up to the amount of damage-with-rend that most AoS armies can now dish out. If you are fighting multiple combats at once you will need to be very careful with your order of activation unless you are running very large units of knights.
An additional issue is that, Varghulf going nuclear aside, the army can have problems with offensive reliability once they actually make combat. Crypt Flayers are only damage 1 and hit on 4s with no access to rerolls outside of the generic command ability (and if you’re CP starved, you’ll probably get more mileage out of feeding frenzy), so even though they throw 4 attacks per model they can be very susceptible to spiking low on hit rolls.
Crypt Horrors by contrast can pick up full hit rerolls from being wholly within 18” of your Archregent and are damage 2 so are less likely to suffer from poor variance themselves, but as they bring fewer attacks than flayers and lack any rend at all they can be at the mercy of your opponent’s armour saves.
CW: I really like Flayers and think they are still by far the better option of the two, but 40 points difference for 3 does start to have an impact at bigger unit sizes so they play two different roles as I see it. The Flayers are the unit I would be sending in to kill a target, the mortal wounds in addition, extra attack and rend make them much more consistent against all targets.
The Horrors I see as having a defensive role in that you can take a big unit of them for considerably less points and as their rerolls come from proximity to your Archregent/Ghoul King who will be kept back near the throne at least T1 for summoning it makes sense for them to defend your home objectives with their rerolls, while the Flayers and Varghulf (and potentially a big block of ghouls which I’m experimenting with at the moment) push up to pressure your opponent.
Conclusion
Flesh-Eater Courts can often seem like an army that was ‘solved’ the moment people noticed the Gristlegore command trait, but the truth is that the book is surprisingly deep for its limited number of scrolls. Almost every subfaction can be made to work competitively, and even taking no subfaction at all is completely viable, an almost unique situation in modern AoS.
It feels like there’s something of a trend in recent AoS battletomes of limited combos and choices that lead you down pre-designed army builds, so it can be refreshing to occasionally dust off an ‘old’ army and have a play with something a bit different. You might even enjoy it!