When I left you several months ago, it was with the promise of a few weeks of Land Raider-related content. Sometimes life (laziness) gets in the way, but finally I have returned to continue the saga of acquiring, building and painting a 1988 Rogue Trader-era Land Raider.
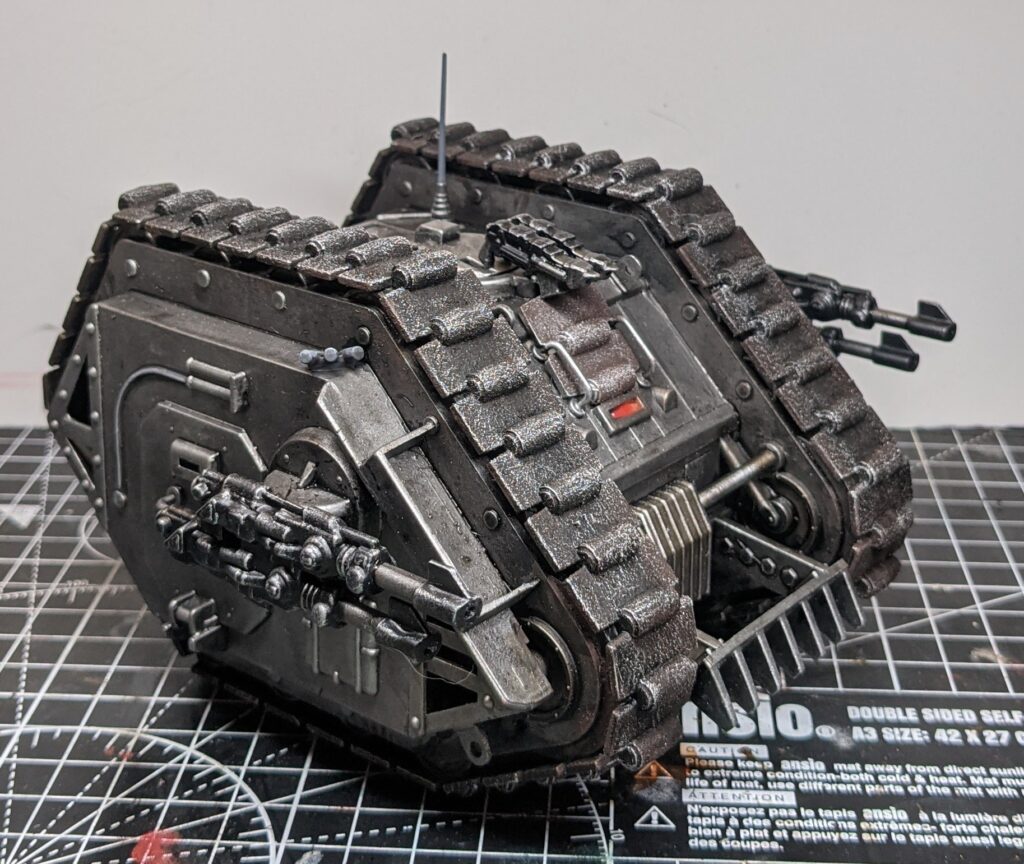
First, a quick recap. By the end of Part 1, the tank was built, gap-filled, and primed, ready for the Iron Warriors’ legion serfs to start applying their livery. This time, I’ll walk you through the painting process, which will also serve as a bit of an insight into how I paint the army scheme.
Dressed to Kill

Over the black basecoat, the first step was to put down a solid coat of the aptly-named Iron Warriors metallic paint from Games Workshop. Basecoating tanks with a brush can be the stuff of nightmares, but I’ve recently come across some guides that have drastically reduced the level of frustration for me. Using a slightly damp soft, round drybrush (I used an Army Painter Masterclass one for this), the paint can be stippled on in a couple of coats, with much better coverage and less streaking than you’d see from a traditional flat brush. Once this was dry, I did some more traditional drybrushing with Leadbelcher, Ironbreaker, and Stormhost Silver to pick out the edges and add some variation.
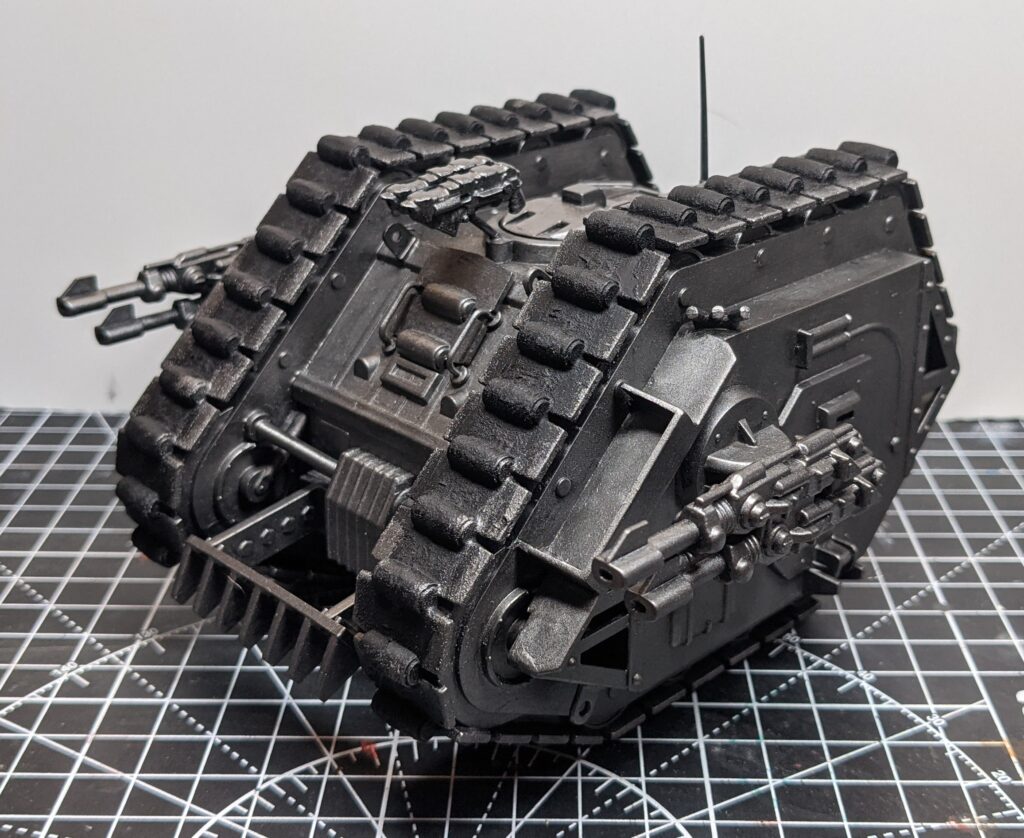
With this step done, it was time to block in the tracks. During the construction of the Land Raider I had opted to coat the very smooth track sections with Typhus Corrosion to add some texture, but as I came to start painting them I realised that they still looked very smooth and so opted to give them another coat.
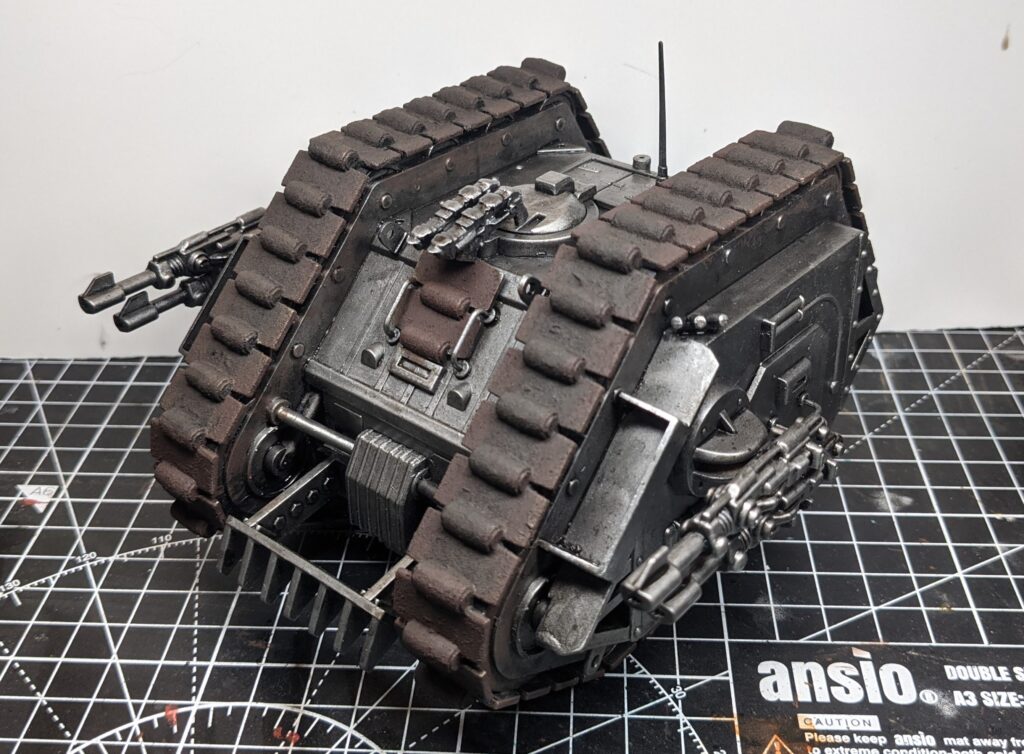
After applying more Typhus Corrosion, I washed the tracks down with a mixture of Agrax Earthshade and Nuln Oil. I also applied a 50/50 mix of Nuln Oil and Nuln Oil Gloss to the silver areas of the tank, as I would normally do when painting infantry for the army. I ended up regretting this as the large flat areas of the vehicle led to a patchy finish, so in the end I redid a couple of the drybrushing stages to blend it in.
You’ll notice at this point that I also used Contrast paints to tint some of the other areas, specifically Skeleton Horde anywhere that I wanted a more mechanical feel such as the engine parts. Contrast paints work very nicely for this task, giving a strong colour shift in just a coat or two whilst still letting the metal underneath shine through. I also used this technique on the gun casings, with two coats of Black Templar.
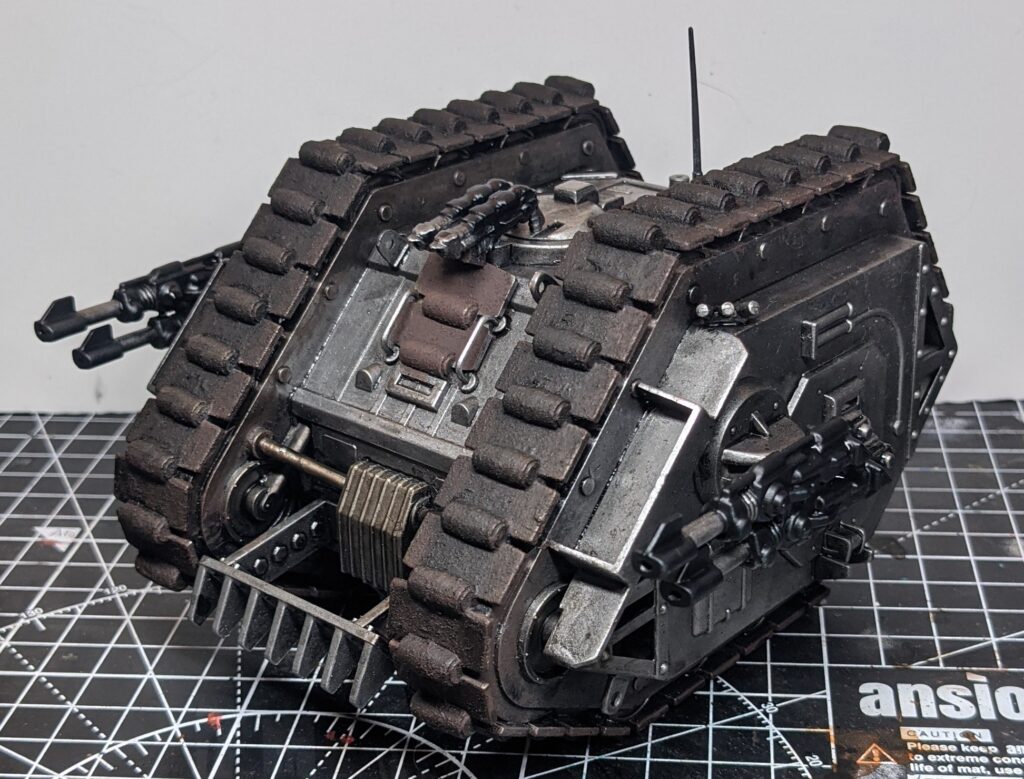
From here, it was mostly finishing touches. The tracks and guns were drybrushed with a bright silver, combining a highlight with the impression of wear and tear. A few details like the aerial and smoke launchers were painting in grey with a quick Nuln wash and highlight, and the driver’s vision slit was painted red. Throughout the process, I tried to reuse recipes and processes from the rest of the army, even if the context was different. For example, the grey recipe is the same that I use for cables and armour joins on my infantry, and the red matches the eye lenses.
I have to admit, the Raider was looking a little bit monotone at this point, despite being almost finished! As always, I’d be leaning on transfers and weathering to add contrast.
Transfer Request
If you’ve read Part 1 of this article, you’ll know that the Land Raider came with its own sheet of very yellowed old transfers. As I’m intending to add the tank to my modern Iron Warriors army, however, I’ll be leaning on the high-quality transfer sheet available from Forge World to add some detail and keep the model consistent with the rest of the force. Whilst looking through my pile of transfer sheets, I also came across a variety of Chaos Space Marine transfers from different eras of kits, so I decided I’d try to integrate some of these vintage Iron Warriors logos too if I could.
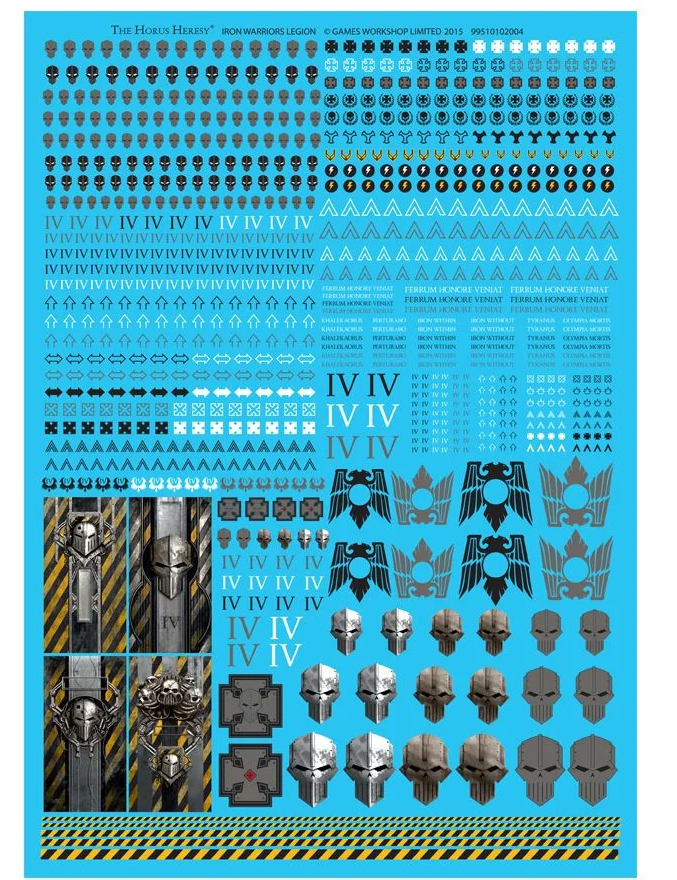
Forge World Iron Warriors transfer sheet 
My copy of the Forge World sheet, alongside some older Chaos Space Marine transfers
I’ve always been intrigued by the large transfers in the lower-left corner of the Forge World sheet, but have never been able to find a use for them – I assume they are intended to be used for banners, or similar large flat areas. I decided that this was the perfect project to try them out, and hopefully add some real pop to the Land Raider. I cut them out, alongside a load of the hazard stripe transfers and a couple of extra logos.
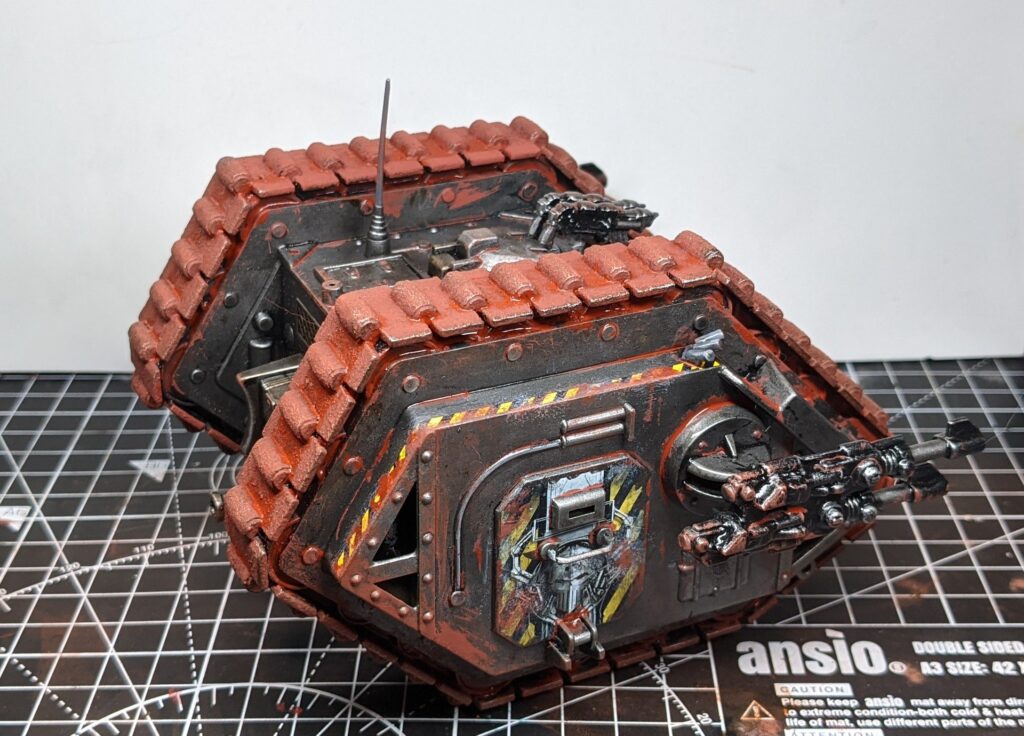
Applying the banner transfers to the doors turned out to be an exercise in frustration! Despite thinking of them as “a big flat area”, there are several features to be navigated around. The solution ended up being to slice the transfer in half horizontally, fitting it one half at a time and lining them up as best as possible. All of the transfers were affixed with the help of Vallejo Decal Fix and Decal Medium, which are Vallejo’s version of the almost-ubiquitous Microset and Microsol, helping transfers to adhere to surfaces and lie as flat as possible.
You can see the transfer placement efforts below – not perfect, but I was confident that after weathering they were going to look great!

Right side door 
Left side door
I then carefully laid the hazard stripes around the edges of the model, and applied the logos, including two older-style symbols from Chaos Marine sheets. And with that, transfers were done and it’s on to weathering.

Front right projection 
Front left projection
Whatever the Weather
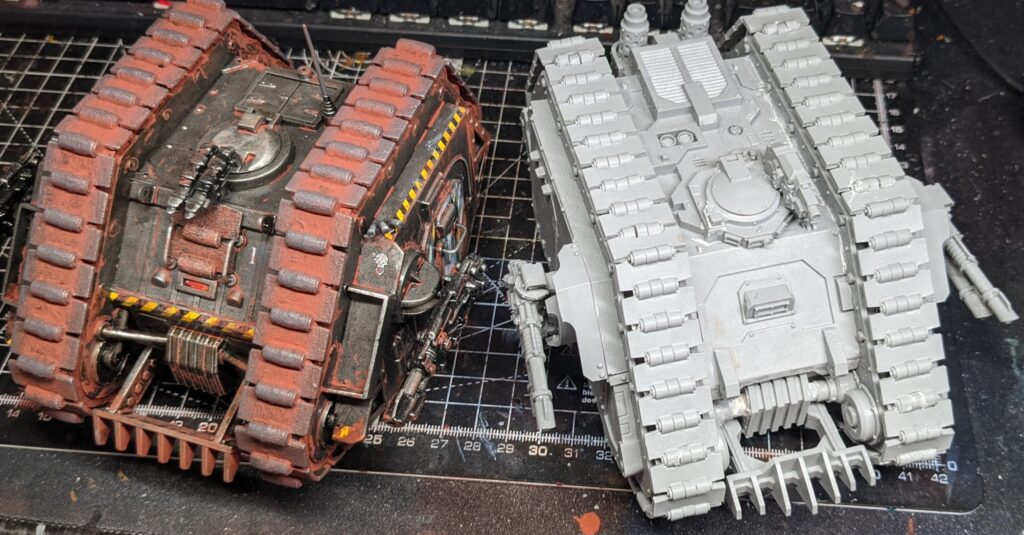
Jump cut! I didn’t take any photos during the weathering step, as it tends to be pretty quick and messy. My process is pretty much two steps – apply some grey chipping with a sponge or brush, then apply Humbrol Iron Oxide weathering powder. I mixed the powder with Vallejo Pigment Binder to a thick wash consistency then applied it all over the model.
Normally I focus on a Marine’s feet and then some recesses across the rest of the model, but as the Land Raider is so large I opted for a more slapdash approach. I also completely coated the tracks, with any overspill around them easy to pass off as the natural accumulation of dust over time. You can see in this photo how the weathering has hidden a multitude of sins on the door transfers. One final step, visible in the gallery at the end of the article, was drybrushing some grey onto the tracks to better give the impression that the dust was gathering in the recesses.
Showcase
And that’s it! It was an absolute joy to work on this old model, applying some newer techniques to try to make it match my army. As you can see from the gallery, I think it fits in quite nicely with some of the more modern units, but I have to admit that I’m more than a little tempted to try and get hold of some RTB01 Space Marines to go with it! Here’s a gallery of final photos:
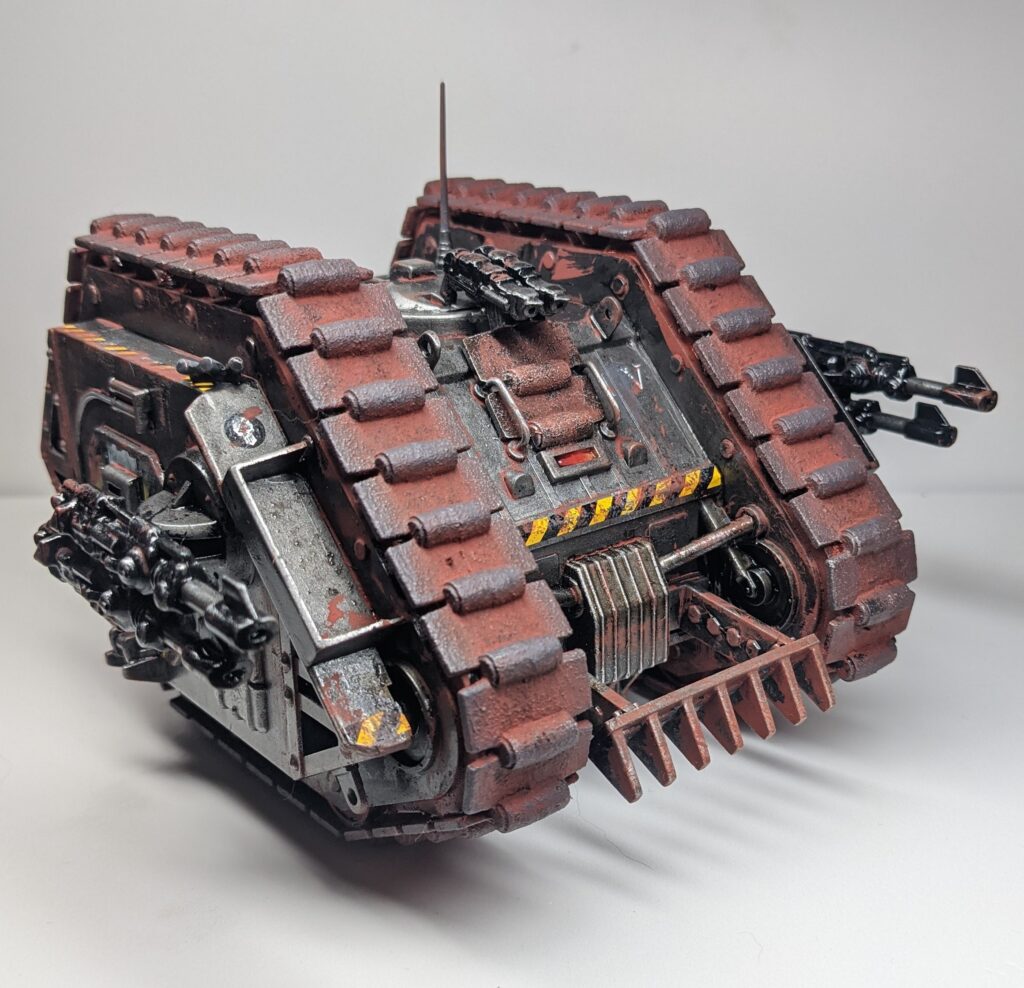
Front view 
Right side 
Rear view 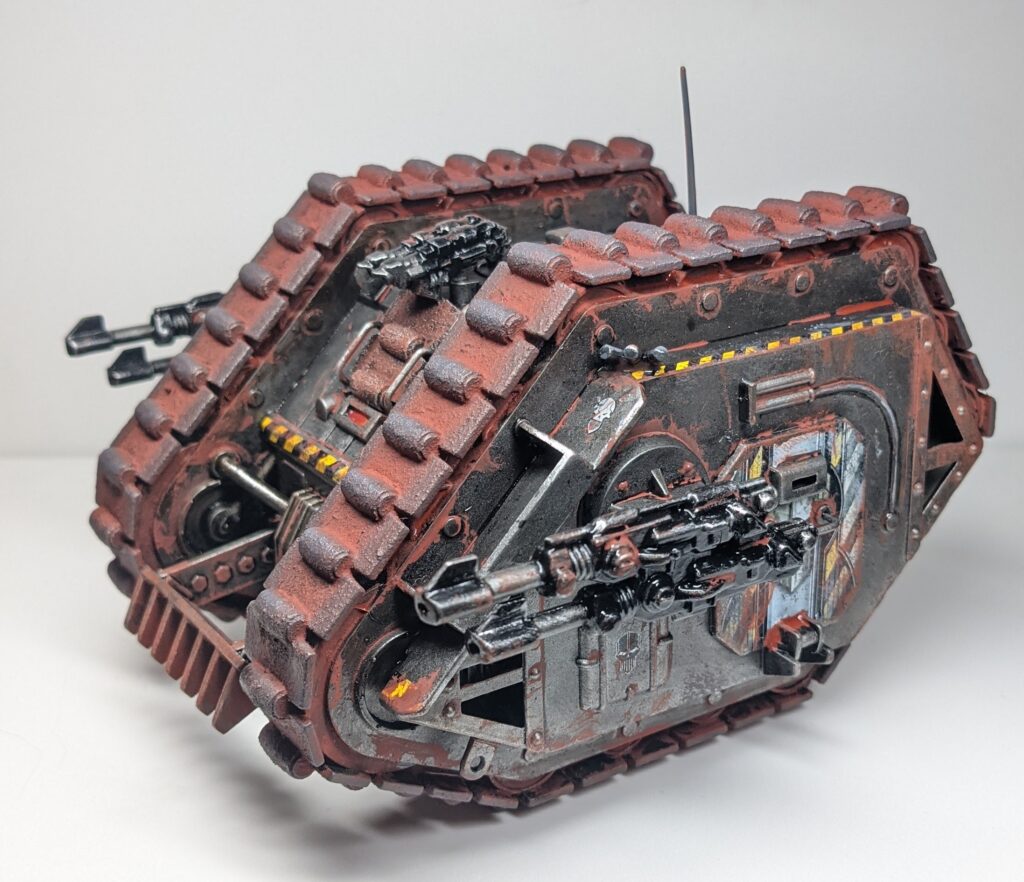
Left side 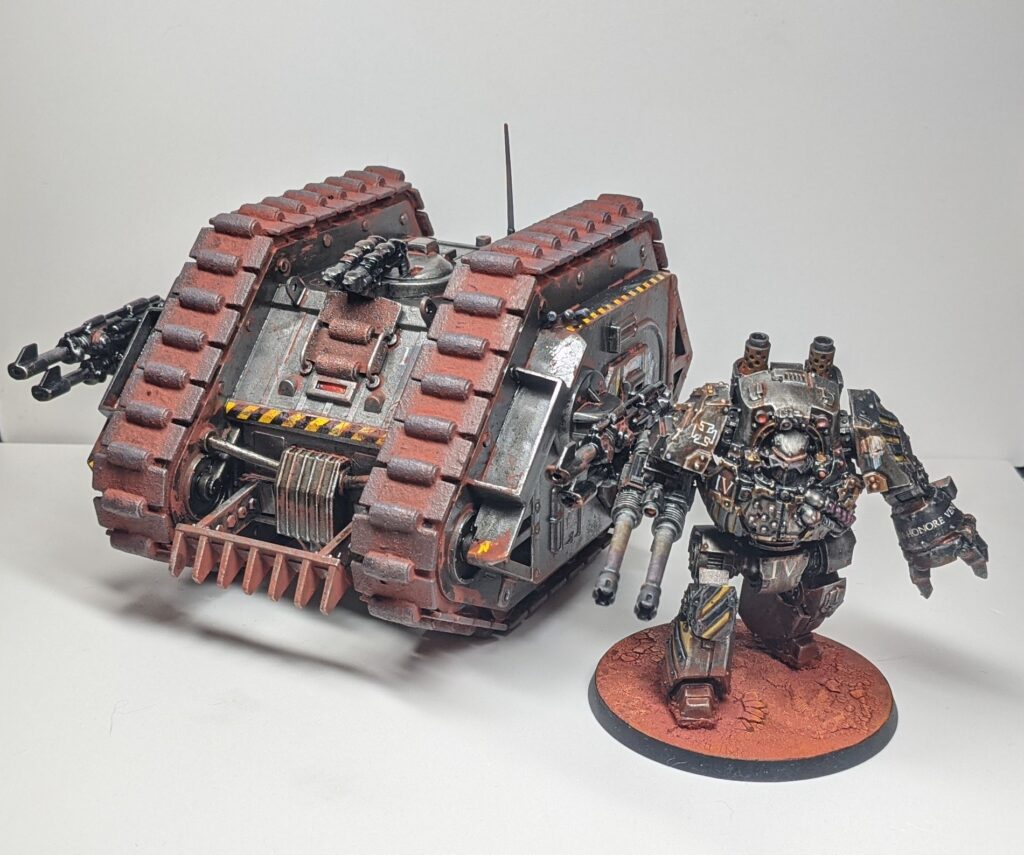
Land Raider alongside Contemptor Dreadnought 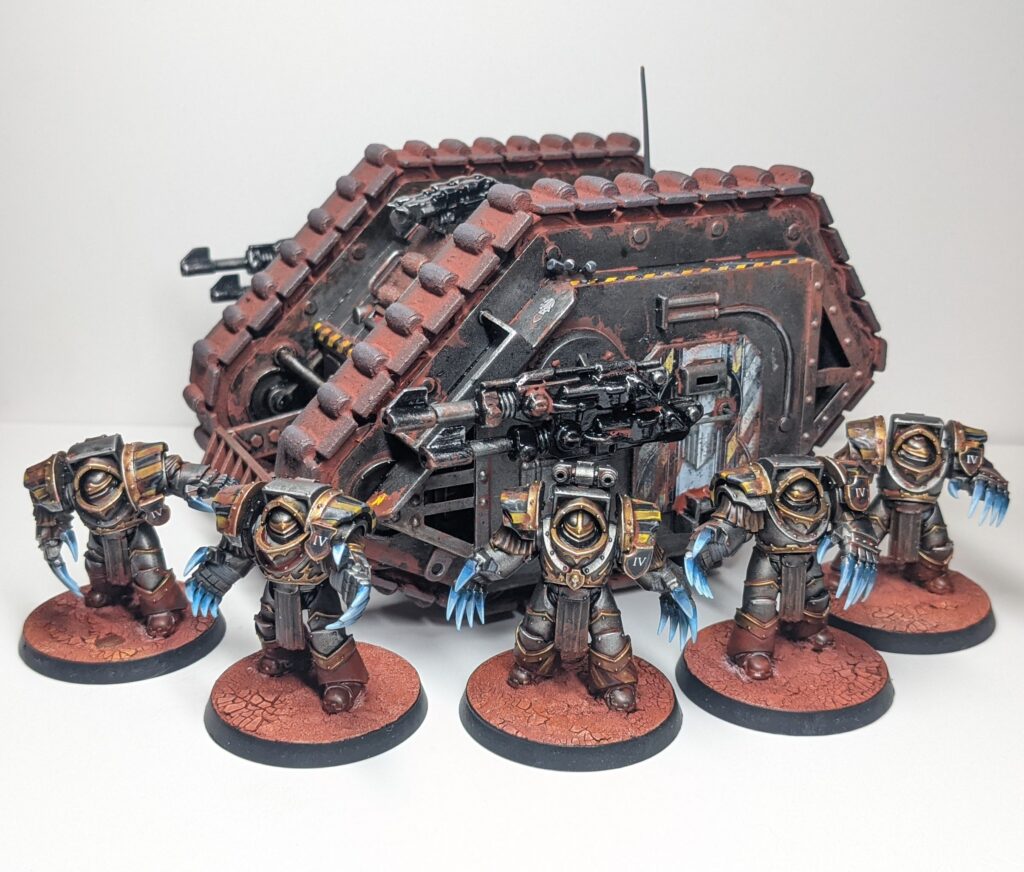
Land Raider alongside Cataphractii Terminators
For now, that’s the end of this article, although I do have some ideas for future editions. I am tempted to try and scratch-build a big flowing banner for the model, as shown in the box art, and I’ve also since acquired a Forge World Land Raider Proteus, so perhaps a comparison article is in order.
If there’s anything you’d like to see or if you have any questions, you can email them to thetinyplasticpeople@gmail.com, or reach out to me directly at @richnutter on Twitter.