Welcome back! Last time, I had tried out carving some foam, now it was time for the next step in adding some elevation to my board.
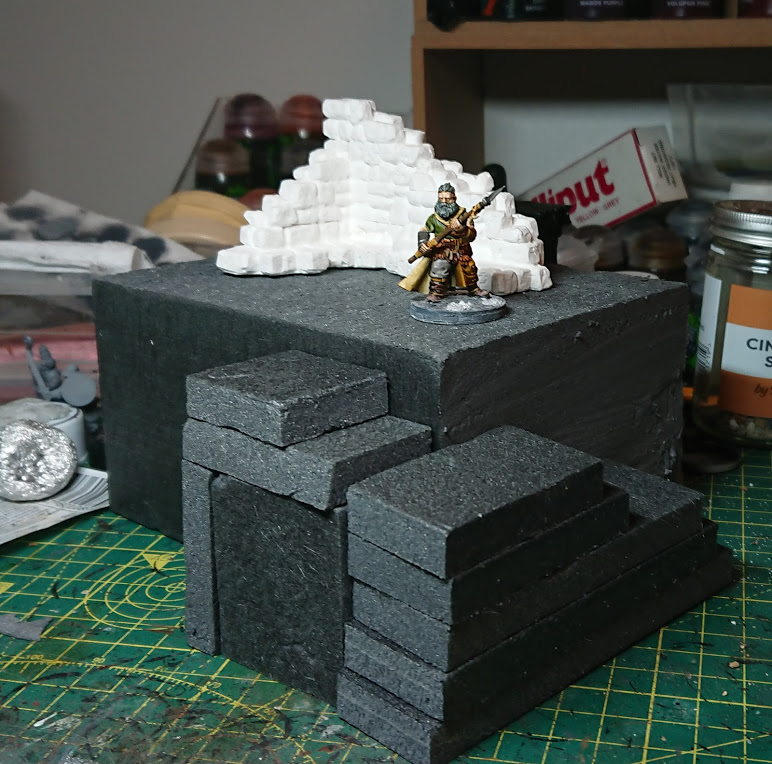
I had some 75mm thick XPS foam from an attempt to make a budget Loonshrine for Age of Sigmar, so I decided to use this as the basis for a large tower/riser thing. I started by roughing out how it would look with some stairs, made from layers of 10mm XPS foam. Then, as it looked a little plain, I added one of the Hirst Arts ruins to the top.
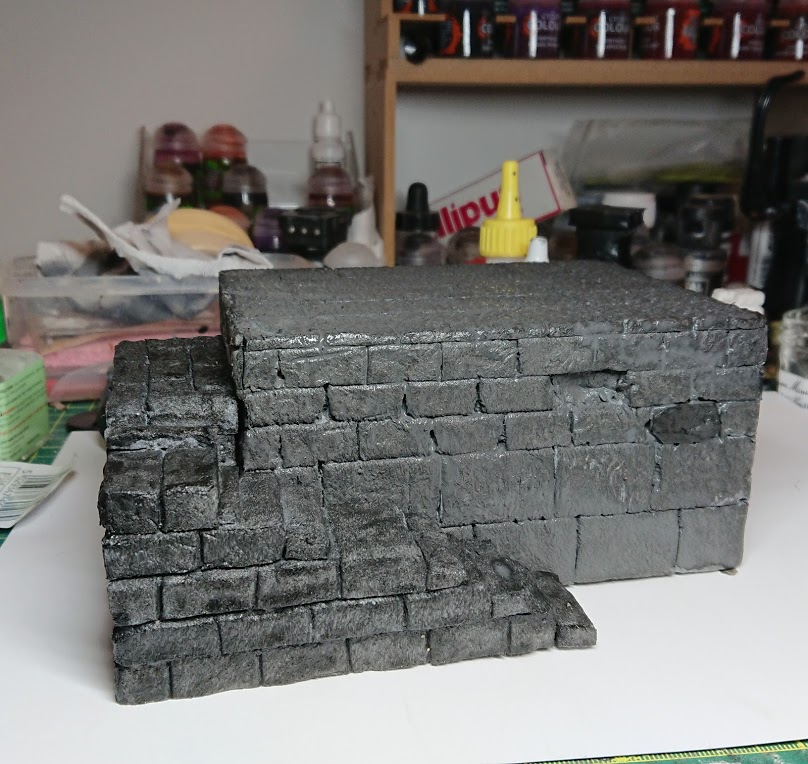
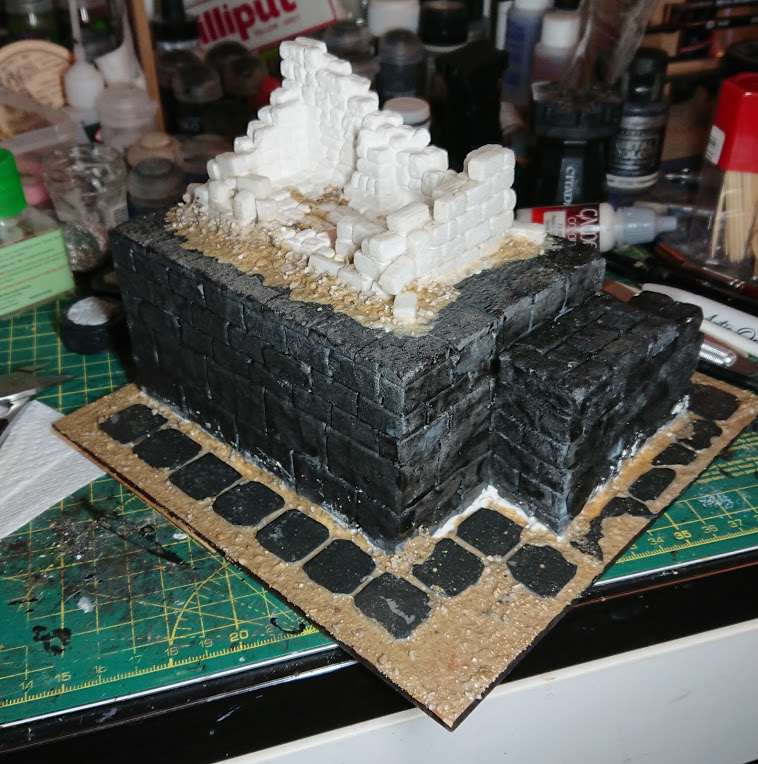
I started by gluing the stairs together using PVA glue. Then I textured them with rolled up tinfoil – like I explained in part two – and carved a brick pattern into them.
I then went on to texture and carve the platform itself.
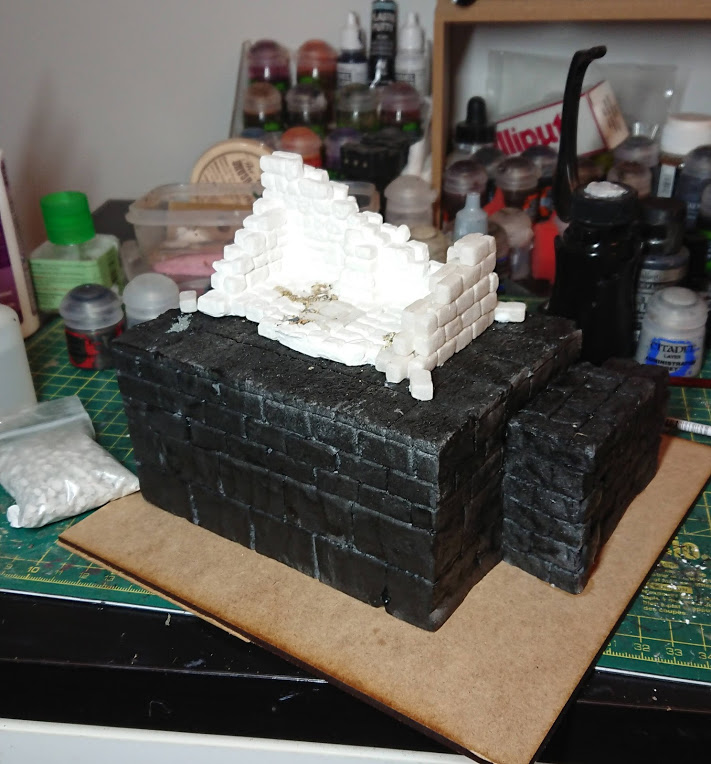
With the foam carved and I textured, I then sealed it using mod podge mixed with black acrylic paint, and mounted it on some 3mm MDF I had. I also glued the Hirst Arts ruins on using PVA and added some ballast, then built up the ruins a little using some foam bricks.
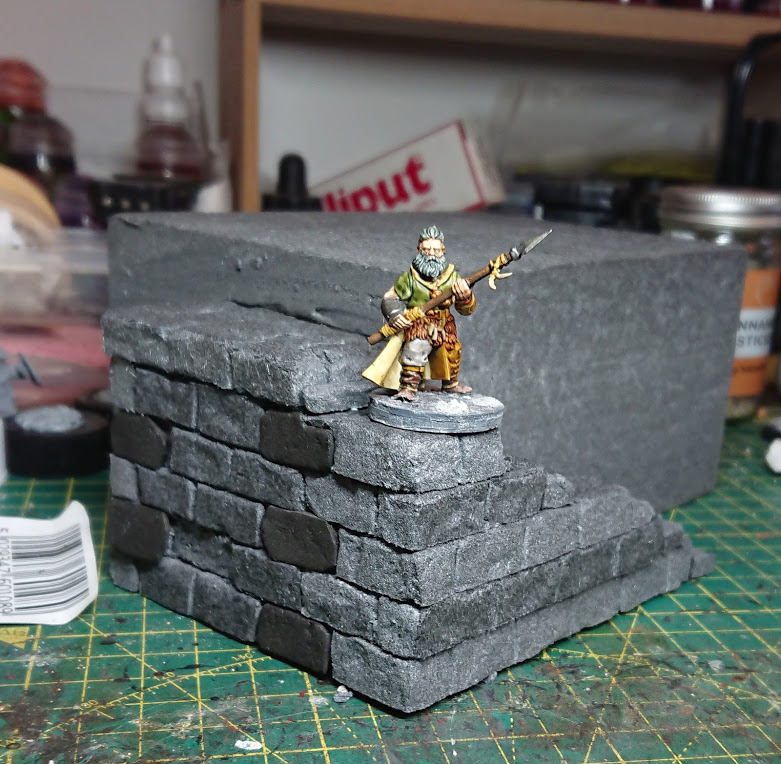
I then added some flagstones made from EVA foam to the base, along with more sand to blend the ruins in with the platform, and the platform into the base.
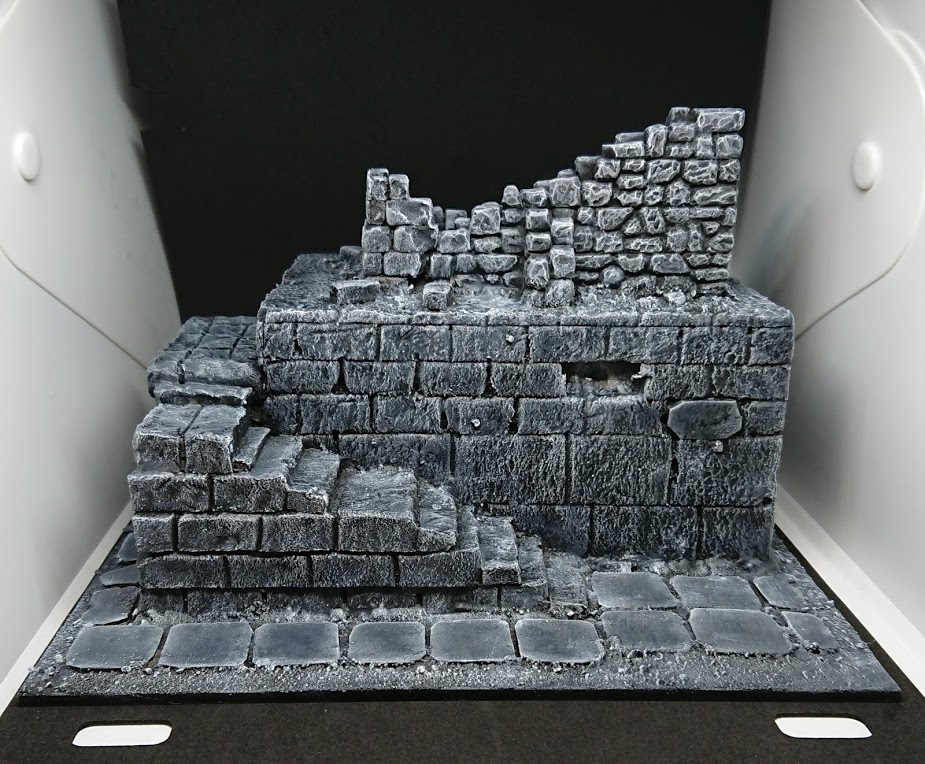
This was then painted up in the same way as the rest of the board.
Of course, one platform is good, but two is better. The next one was constructed in the same way, but I built the ruins on the top out of foam bricks.
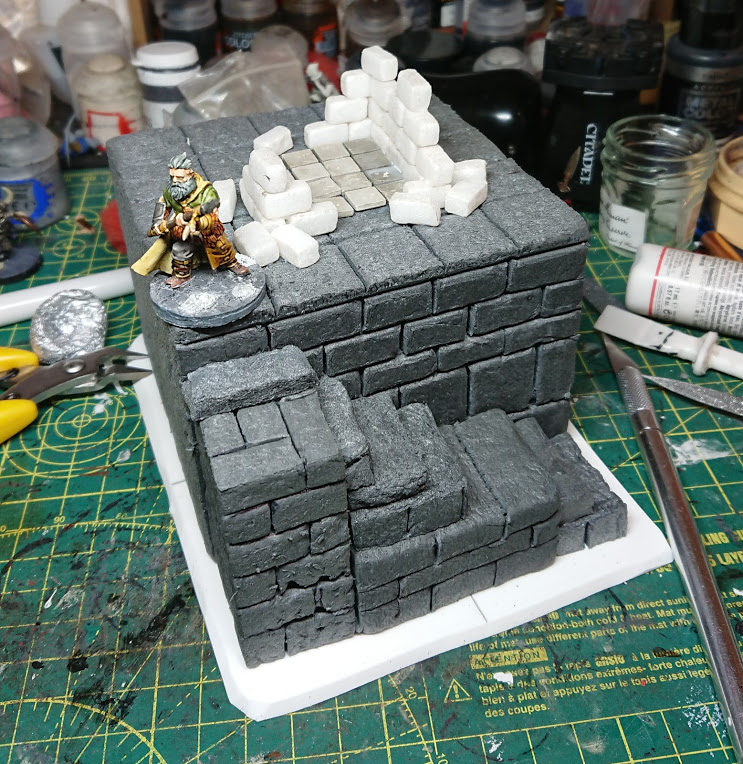
I painted this up and added snow in the old familiar way, for more details you can check out Part 1 of this series.

So, I have the two platforms but I needed a way for the combatants to get between them, ideally a narrow and precarious one! I thought about doing arches, but my experience with the piece from Part 2 told me that cutting curves in foam with a utility knife was pretty difficult. I therefore decided that arches would have to wait until I got a hot wire cutter.
Looking for a solution, I started drawing out some ideas on paper. A simple single span beam bridge would be easy, but I rebelled at the unrealistic nature of that, even though “a wizard did it” is a perfectly reasonable explanation in Felstad. Instead, I thought about doing a corbel arch, and working from there I ended up with something like this:
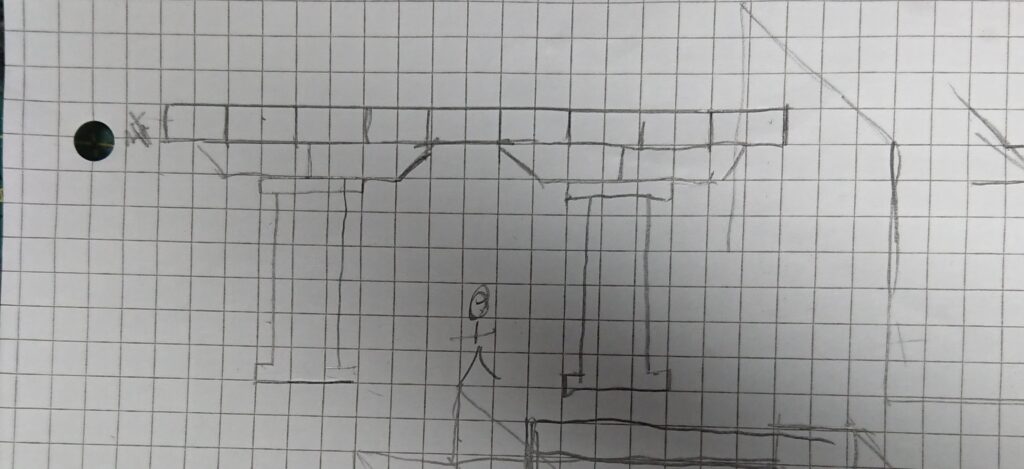
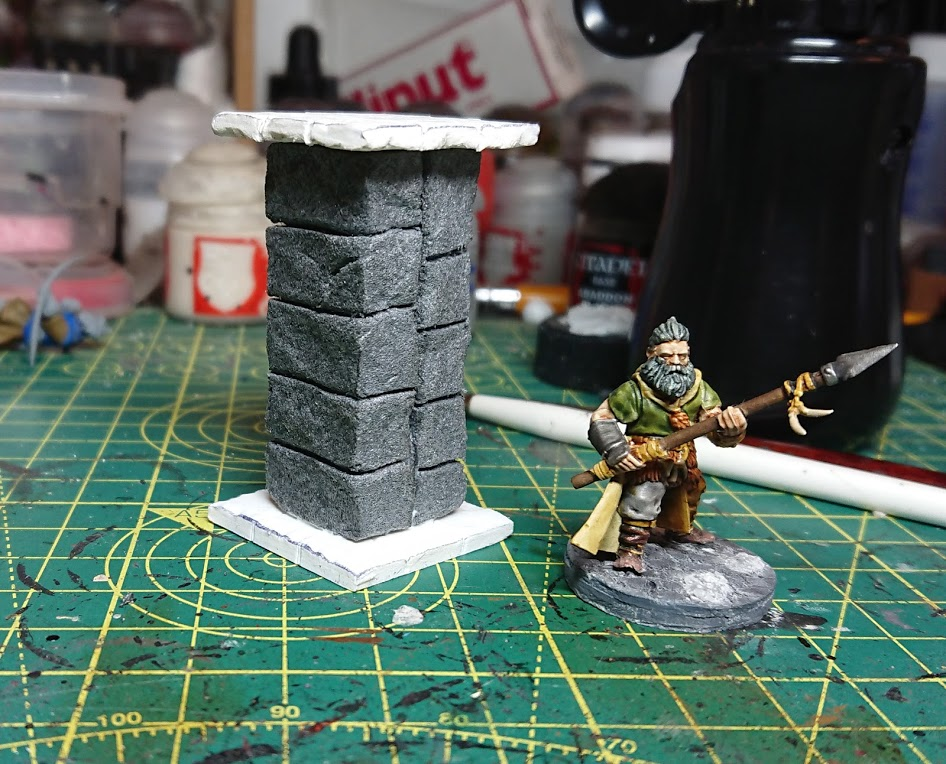
I started by making the support columns, firstly by cutting the top and bottom out of the foamex I use for bases. Then I cut two 5cm x 2cm strips from XPS foam to form the column itself, and textured and carved the brickwork as before.
I then added the cross pieces, using 3cm wide strips of XPS foam. One strip went across the length of the piece, and I cut two more to form the “arch” pieces. The 45 degree slope was relatively easy to cut using a knife, but it’s not perfect. These were then textured and a brick pattern added.
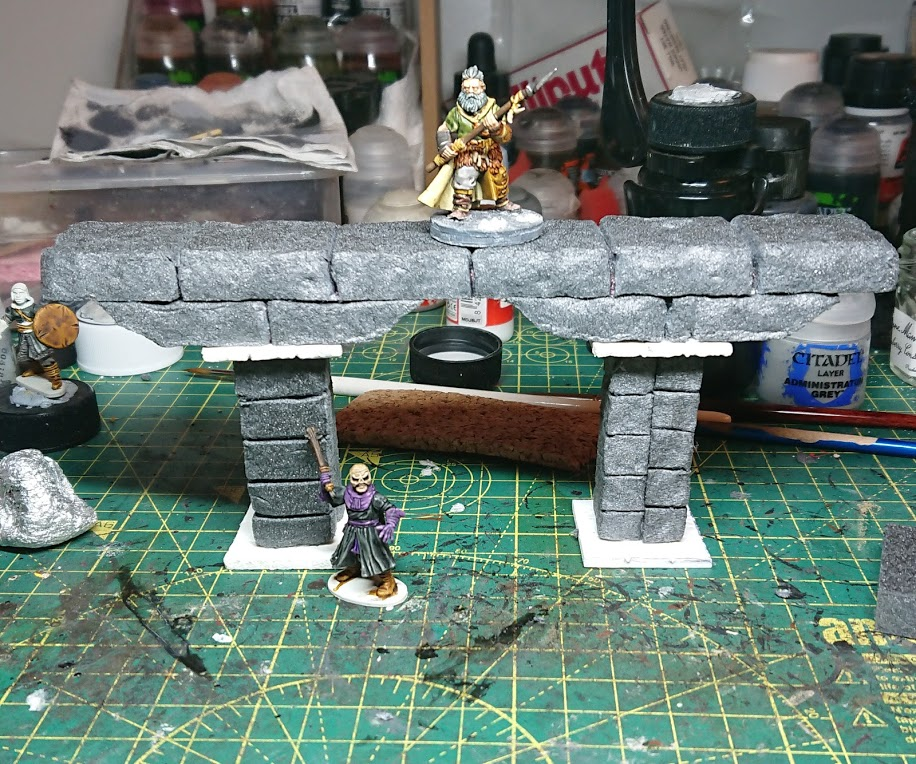
Putting it all together gave me a couple of nice big line of sight blocking pieces as well as some real height. It would also be easy to expand – I could make more towers and more bridges quite easily.
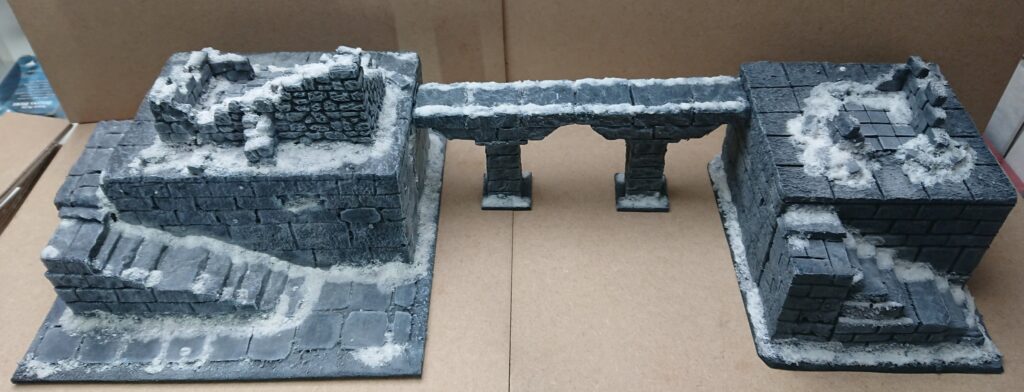
So, now I had plenty of ruins, some big and some small, but what could I put them on? Join me next time to find out!